 For more posts in this series, see the series index.
The Windows Simulator is a great tool for developing Windows Store apps but you maybe missing out on some great features of it.
Resolution
 There is a little screen on the toolbar which is used to change the resolution & size of screen. It is important to test on different sizes of screens & resolution combinations as that will influence the DPI of the screen and that will have impacts on your application (Microsoft has a good post on those).
However you may want to just work with a bigger simulator sometimes – well you can but placing the mouse on the any corner and dragging the simulator bigger or smaller!
Screenshots
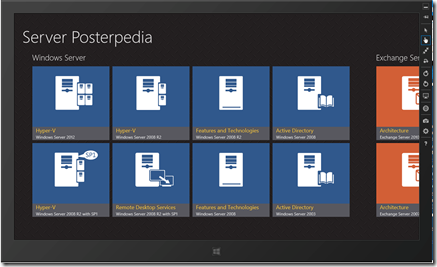
One of the best features of the tool is the built in screen shot capabilities which you can access by pressing the camera button on the toolbar. This will capture the entire screen and and place the file (by default) into C:\Users\<username>\Pictures\Windows Simulator. It does not capture any of the simulator chrome so it is perfect for using when uploading to the store.
However sometimes you do not want a specific file, you just want to capture the screenshot to memory (say to paste into a presentation) you can click on the simulator and then press ALT+Print Screen. It will produce the same screenshot as if you used the toolbar button but place it into the clipboard, rather than a file.
Finally the resolution of the screenshot is based on the resolution of the simulator.
Windows Key
On the bottom of the simulator (by default) is the Windows hardware key and if you rotate the simulator the key moves to the relevant location. You may find that it tends to disappear when it is placed on the left hand side (counter clockwise rotate from the start location) – because that is where the toolbar is.
The Windows key is there still, it has just merged with the toolbar itself and can be found now in the last position under the question mark button: ![]()

