For more posts in this series, see the series index.
One of the things you need to think of when you are going through your development cycle is how the decision makers are going to test your app?
Likely the best solution is to get it to their hands via a device, but how do you load your application onto that other device? Well there are TWO options!
Building the app
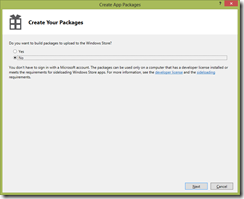
Before you do that however you need open your project in Visual Studio, right click on the project and go to the Store option, then client the Create App Packages option.
Since you are creating them for side loading you do not need to associate them with the store.
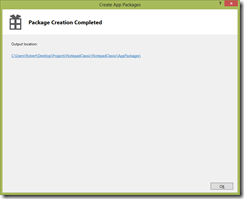
Once done you will have a folder (called the output location) with both a .appxupload & another folder in it – we will call this the deployment folder.
PowerShell
 Regardless of the machine, if it has Windows 8 on it – it has PowerShell too so this option works FANTASTICALLY for everyone. Step one is to load a developer license onto the machine, you can do this by typing: Show-WindowsDeveloperLicenseRegistration
You will now get the prompt for your Live ID to register the device unlocked for three months.
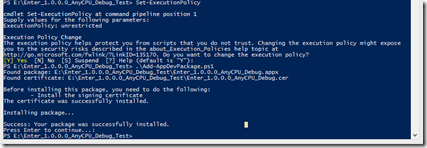
Next you need to ensure you can run PowerShell scripts, this is done using: Set-ExecutionPolicy unrestricted
Now copy the deployment folder to the device and using PowerShell run the Add-AppDevPackage.ps1 – This will prompt you about installing it and installing the required certificates. Say yes to those and the app will install on the device!
Visual Studio Debuggable Package Manager
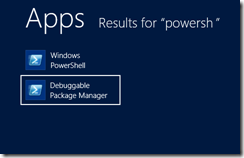
If the device has has Visual Studio on it there is another option you can use which just requires the .appx package. That is the Debuggable Package Manager
When you launch that you can use the Add-AppxPackage command to install any appx you have. You can find the .appx file in the deployment folder.
AppXUpload
if you only have an .appxupload file – you can still use that too! Just remain it to a zip file, open it up in your favourite compression tool and extract the appx file from there!


