LightSwitch: Passing data between screens - Example 1: Passing a string
Published on Estimated reading time: 2 minutes


For other posts in this series, see our series list.
Recently, I saw a question about how you can pass data between screens—which is something we do a lot in our system—so I thought I would share details on how we do it. There are a number of ways to do this, so we’ll start this series with a simple way of passing a string.
As with each part of this series, the code can be found on GitHub.
Example 1: Passing a String
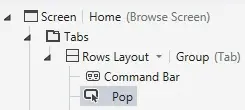
- For the first example, what we’ll do is pass a hardcoded string from a button on one screen to a second screen. We start by adding a button (called Pop) to a screen.
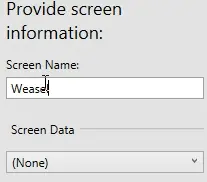
- Then, we create a new screen—Weasel—for this purpose.
- On the new screen, we add a custom control and set its data to Screen.
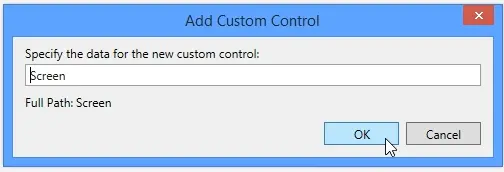
- The core of this method is adding a new data item. For this example, we specify it as follows:
- Screen Member Type: Local Property
- Type: String
- Is Required: True
- Name: data
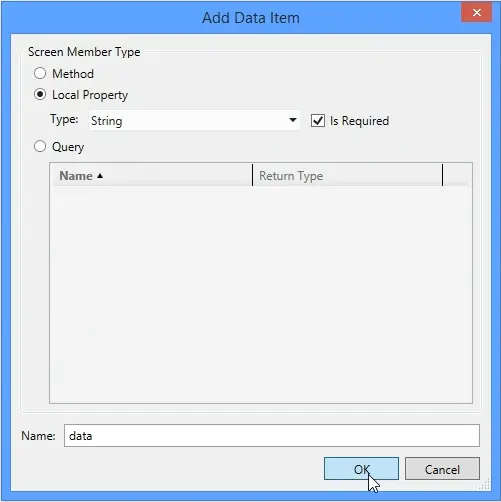
- After clicking OK, we select the data item on the right and go to its properties to check Is Parameter.
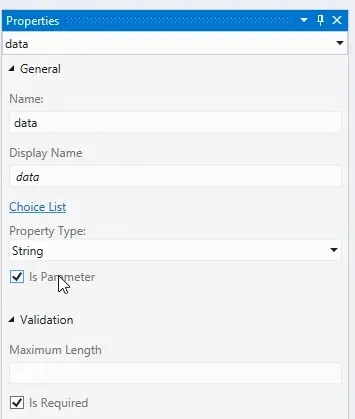
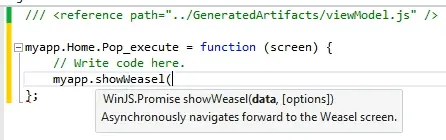
- For the execute event of the Pop button, we add this code:
myapp.showWeasel("pop goes the weasel");- myapp: The namespace for our app. Every LightSwitch app uses this.
- showWeasel: The method to launch the screen. LightSwitch follows the pattern
show[ScreenName]. - "pop…": The data we’re passing. Since we created the data item earlier and marked it as a parameter, it’s available as a method argument.
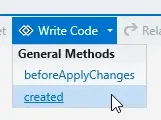
- Finally, we display the string on the Weasel screen by adding two events:
- First, we add the created event for the screen. The code declares a variable
doutside the event and sets it inside:var d; function screenCreated() { d = screen.data; }dataproperty fromscreenand store it ind.
- First, we add the created event for the screen. The code declares a variable
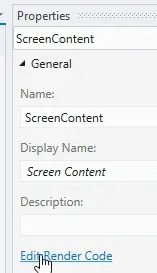
- Second, we select the custom control from step 3 and edit its render code to display
d:function elementRender() { element.innerText = d; }
- The final code (corrected from the screenshot’s typo) should look like this:
var d; function screenCreated() { d = screen.data; } function elementRender() { element.innerText = d; }
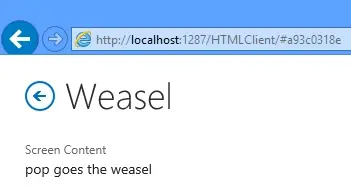
And that’s it! That’s how to pass a simple string between screens.