For the rest in the posts in this series, please see the series index.
So the first of the appendices in this series is an idea I had for the presentation: animate the content of the code slides so it looks like it is being typed. This never made it into the final presentation because each slide change—i.e., changing from one slide to another—causes your audience to lose focus and look at the screen. Animation is a powerful tool to help get your point across, but you should not just animate for wow factor, because then the audience will just watch the slides and ignore you.
Anyway, for those who can find a good use of this effect, here is how to recreate it. Note I am using PowerPoint 2010 Beta 2, but this should work in previous versions too.
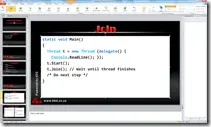
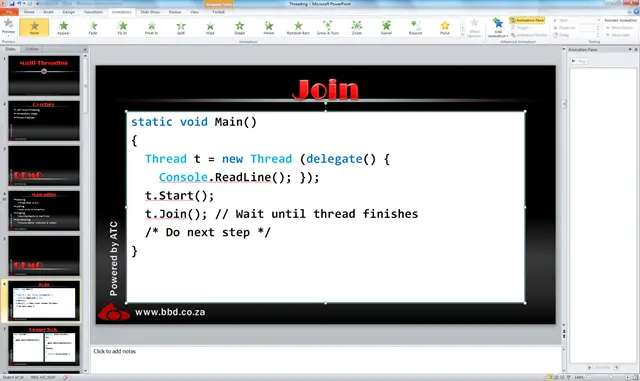
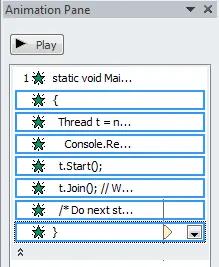
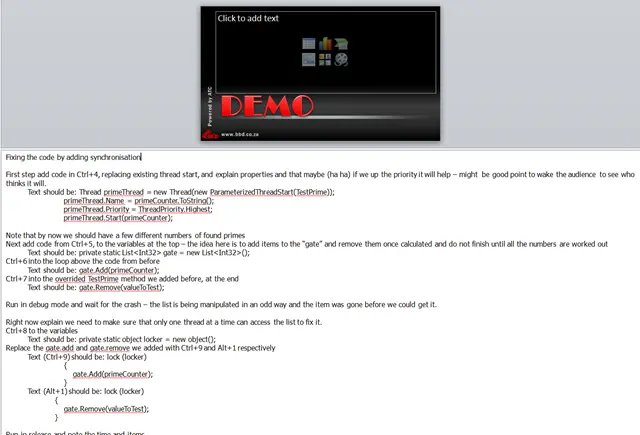
The above image shows what the slide looks like at the start. The white block is just a normal text block with some text in it. I have turned on the animation pane as I will need it later. First, select the text block and choose the Appear animation effect.
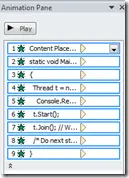
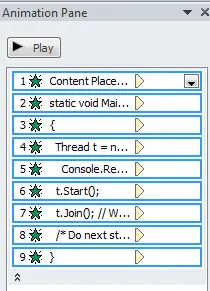
The animation pane will now have each line as an Appear, set to show individually on click. So click one will show the white block, click two will show "static void Main()", etc.—not really what we want… yet.
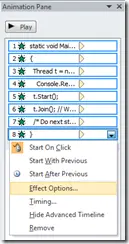
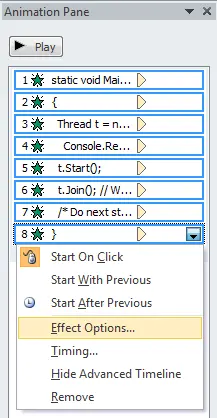
First, I removed the first item (the Content Place Holder) as I want the white block there from the start. Then, I select all the remaining animations, right-click, and select Effect Options…
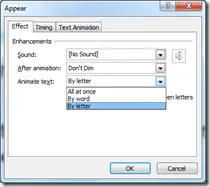
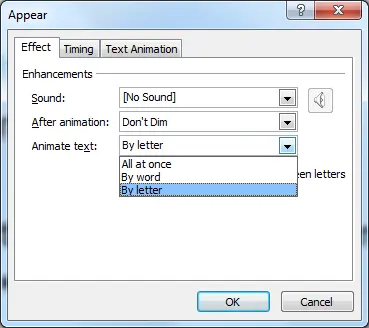
In the options dialog, I change the Animate text setting from All at once to By letter and change the delay per letter (hidden behind the dropdown above) to 0.25 as that seems to be a better speed for this. Finally, click OK.
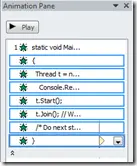
Next, in the Animation Pane, I select items two through the last item, right-click again, and change to Start After Previous, which means I do not need to click for each line to appear. That’s it—now you have a decent typing effect in PowerPoint.
I recorded a video of it, which you can view by clicking here.
For the rest in the posts in this series, please see the series index.
 So today the visible changes to the slides are minor—the work really revolves around finishing up the demo script and minor cleanup. Today is maybe the most important day of work for a presentation, as it’s the day I do my first set of dry runs! Dry runs are vital because if you want to be successful, you need to practise, practise, and practise more.
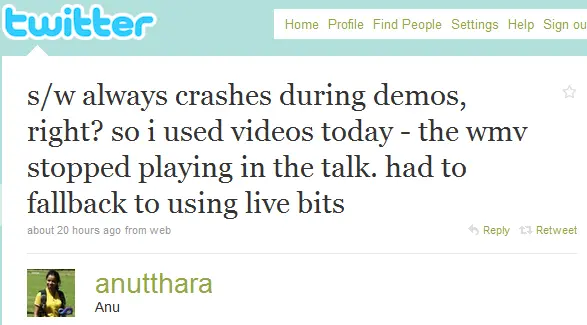
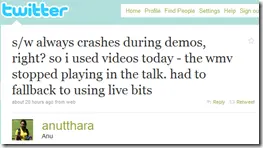
All this practice is part of preventing the dreaded demo crash! Interestingly, the stats on session scores show that demo crashes are one of the biggest causes of low speaker scores, so you want to make sure you do whatever you can to prepare for them. On the right is a tweet that Anu shared about how, no matter how hard you plan to avoid crashes, they can still catch you. Now it may look unprofessional to have a crash, but in Anu’s case, she shows more professionalism because she had a backup—the live bits—so she could continue with her demo.
So what do I do for my preparations to make sure my presentations look good and don’t crash?
Demo bits
If you look at my previous parts in this series, I have fully completed:
- a demo,
- a demo base,
- the parts I need for the demo in an XML file,
- and in the notes of my PowerPoint.
All that is just for the code for my demo, so I am covered for a lot of the issues that can go wrong.
Backups
Backups are important, so all my slides and demos are backed up to “the cloud,” so that even if I have a serious hardware failure, I can pull the bits down and get up and running quickly.
Connections
A lot of demos are prepared by sitting at a desk somewhere, normally connected to the internet with a specific configuration setup. However, that is seldom where you present them—normally, you present them at an event where you may or may not have:
- internet,
- network (wired or wireless) connectivity,
- or even power.
Why is that important? Because a change of environment can mean a settings change that crashes demos.
Two examples of this are power and networks. Power is interesting for laptops since performance could be affected if the OS detects there is no power—so your demos or videos may run slower than expected. In fact, for my demos, I changed the upper limit from 100 000 to 10 000, as it runs too slowly when not on power.
Network connectivity is also something to check, because if you are using a virtual machine, not having network connections could mean the network on the VM is disconnected, and then you cannot connect to the services running on it.
The tip here is: Check that your demos still work when you’re not at your desk.
Projectors
Projectors are very different from a monitor, and doing a demo on them is much different than when looking at your monitor. The key differences I want to highlight are resolution, contrast, screen mode, and layout.
Resolution
Projectors often come out of the Stone Age, as getting above a resolution of 1024×768 is very very difficult. For me, this has been a problem in the past when it came to Visual Studio. With all its toolbars and chrome, the code area is so small at that resolution it made it hard to demo. Knowing this earlier means making sure you get your configuration right—so your demo will work better.
Tip: Alt+Shift+Enter will full-screen your code or designer window in Visual Studio—very useful to get the gunk out of the way. If you are using VS2010, you can also undock and maximize the window.
Contrast
One of the worst demos at TechEd ever—unfortunately, it was mine. I had a great demo planned—a beautiful application styled in a white, grey, and blue theme. When projected to a movie-sized screen at TechEd, though, the projector was not able to get enough difference between the colors. So the application just looked like a big white screen with shadows. What I had failed to do was test that demo on a projector ahead of time. Otherwise, I would have seen the issue and been able to fix it.
Screen Mode
When you are doing a demo at your desk, you can see the screen and have control over it—when using a projector, you are either in duplication mode, which gives you the same feeling, or in extended mode, where you have to juggle between the projector and your machine.
I once forgot to print my notes (yes, I keep a printed copy of my slides and notes, so that I have yet another fallback) before a dry run with some people. Being still new with the presentation, I hadn’t memorized the demos, which meant I needed to read my demo script on my screen and have my demo on another one. This meant connecting to the projector in extended mode. Well, it was a nightmare—I struggled with the difference in resolutions, pop-ups occurring on the wrong screen, and neck pain from having to look back and forth the whole time.
So when possible, run in duplication mode and make sure your demos work well then too.
Layout
Once again, when you are in front of your screen and about 30cm away, you can see everything easily. However, when you are looking at it projected 15m away with 20 people in front of you—where things are on the actual screen becomes important. Easy tips are to avoid:
- the very bottom (it will likely be hidden by heads),
- the far left and right (as some projectors/screens may cut off those portions of the screen).
Once again, testing with a real projector helps with this scenario.
Tip: I have also started using 16:9 aspect ratio for my slide decks over the traditional 4:3 aspect ratio. This helps the layout because when a slide deck with a 16:9 aspect ratio is projected by a projector with a 4:3 aspect ratio (which most projectors are), the bottom is banded out. This is the same as when you watch a wide-screen movie on a normal TV—those blank bands at the top and bottom are added to compensate. That automatically handles making sure you don’t put things too low on the physical screen.
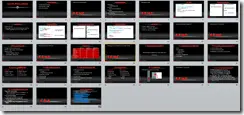
Slide deck at the end of day 6
For the rest in the posts in this series, please see the series index.
Today was a very busy day, which started with touching up the slide deck—a little more content and adding touches of animation to the slides. One thing I’ve learnt is that every time a change happens on screen—be it a slide change or animation—the audience looks at that, and since people can’t multitask, they stop listening to you. So while animations and transitions may look flashy, they must be used with care—or you risk having long pauses or the audience ignoring you.
For this presentation, there are a few slides where I want to take the audience step by step through a process as I narrate it to them. However, for the rest of the slides, there are no animations. Often, on very wordy slides, people will bring in the content line by line so the audience doesn’t get ahead of the speaker. For me, I have text—I dump the entire text on the screen at once, which may seem odd since everyone will start reading it. However, I’d rather have a 5-second pause between slides while people digest the new slide than ten 1-second pauses during the slide as they switch between me and the new text that just appeared courtesy of some animation.
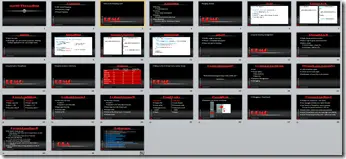
Slide deck at the end of day 5
The next stage is to get my demo script written. To do this, I take the demo shell and step by step write out exactly what should occur.
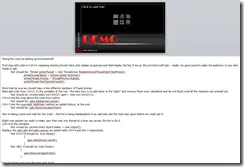
Part of the demo script for one of the demos
Normally, I do not need this guide, as I will have practised the demos a few times and will have it almost memorised. But it is worth creating for five reasons:
- If I need to present in the future, I do not need to try and remember what I did. I just read the script, practise, and I am ready to go.
- When I hand out the presentation, people who look over it can read the script and recreate the demos themselves if they choose.
- I use a tool to help me with my text (which I will discuss in a future blog post), but if something goes wrong with that tool, then the code I need is backed up in the demo script.
- In preparing the script, I need to run through my demos, which gives me my first chance to catch bugs and resolve issues in the demos before I get to my dry runs!
- Finally, it also acts as a sounding board for the demos themselves. For example, during creation of the script today, I took one demo and split it into two demos because it was just getting too much to do all at once.
For the rest of the posts in this series, please see the series index.
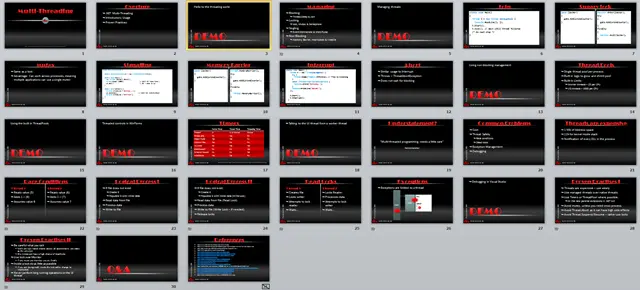
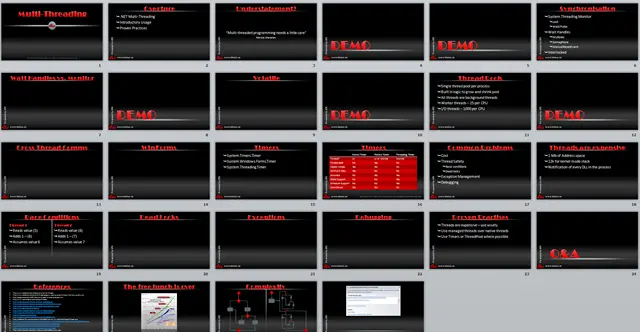
What a day! When I said yesterday that I could feel it coming together, I did not expect it to be so fast. Now, at the end of day 4, the fundamental slides are done! Here are the changes for those who are watching the slides evolve:
- The slides I mentioned on day 2 that were in danger of being removed are now gone.
- I moved the demos after the explanations—I did this because this is such a complicated topic, and I need to explain upfront so I don’t lose people during the demo. Normally, I prefer the opposite, as it adds more excitement to the presentation.
- Another demo has been added—the slide on debugging; I just can’t explain it well enough in words, so it will be a demo now.
- Added 5 slides with code in them; these are great alternatives to demos because they don’t break (like demos can), keep the session moving forward, and won’t bog it down with too many demos. Animation can help illustrate the code, but I’m not using it here—it’s still an option. The risk of these code slides is that they might bore the audience if overused. For these, I’m using them to illustrate alternatives to the demos I’ll do earlier in the presentation, which seems like a nice trade-off between keeping things entertaining and getting through everything.
- References are now hidden—if people need to see them, they can ask or download the slides. No one will be able to copy down that many references during a presentation anyway.
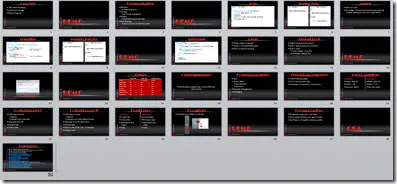
Slides at the end of day 4
For the rest of the posts in this series, please see the series index.
Today’s work focused on the final reference demo for my presentation. For this presentation, I need two: first, a simple one to get the basic concepts understood and then a second, which is much more complex and tougher for me to code. This is no quick task—as just this reference demo took me almost 6 hours to get it to the point where I was happy. Often, during the building of the reference demo, two side effects occur. The first is that I am learning, so I get the chance to find solutions and blog about them.
The second side effect is that it makes me think of what sort of questions will be asked during the presentation. It is very important to spend time thinking about this, because while things may seem obvious to me, they may not be to others. Remember, your presentation doesn’t end with the slides—questions afterward are part of it too, and you need to prepare for them.
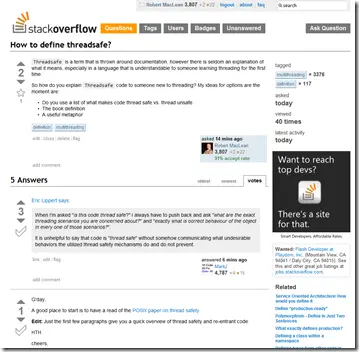
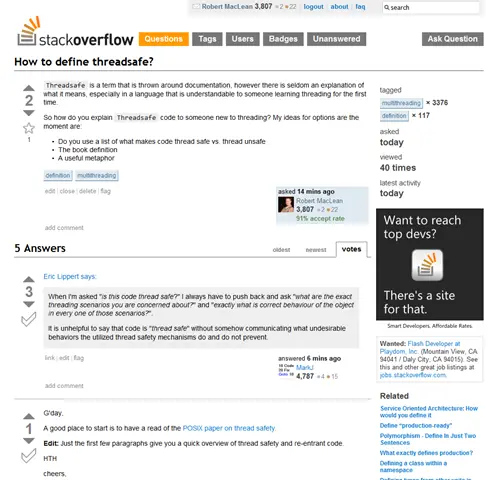
One of the ways I research is to post questions to StackOverflow.
Once I have the reference demos built, I can then take them and build a new application from them—this new application will be the core for the actual demos. This is a tough exercise because I need to separate out the important code from the bits that are needed but do not help enlighten the audience. For example, if I had a WinForms app as a base for a demo, I will often have the UI built but won’t have all the events hooked up.
The next step is to figure out the best way to explain the important code: typing it in during the demo, copy-paste, or even simple un-commenting of code—whatever works best for the scenario, as each has various trade-offs. After I’ve done this exercise, I’ll have one fully developed application and one shell of an application for each demo.
Once I had finished my application base today, I went back to the slide deck again. It is quickly changing from being a storyboard to becoming a slide deck as I work on the content and flow more. For this presentation, I can feel I’m over the big hump of “what” and starts to come together quicker.
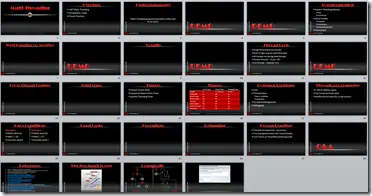
Slide deck at the end of day 3.
For the rest of the posts in this series, please see the series index.
Today marks the first full day working on this presentation; yesterday, I only invested about 4 hours in the solution. Most of today was spent building the reference for my demos. This is a functioning demo system that includes many ideas and concepts—something I will build on. This code won’t be the actual demo code, because once I have this, I can break it down and build my actual demos from it.
The reference demo gives me an opportunity to test my ideas, try them out, learn a lot about the issues, and enables me to cherry-pick scenarios for actual demos. For this presentation, the core idea for my demos is exploring what prime numbers exist below a specified ceiling number. To start, I coded the solution without any threading, then figured out various ways of using threads and thread pools to enable threading.
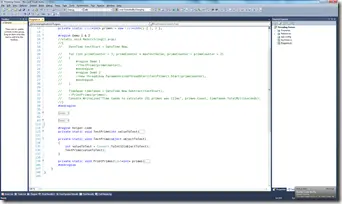
Coding demos away in Visual Studio 2010
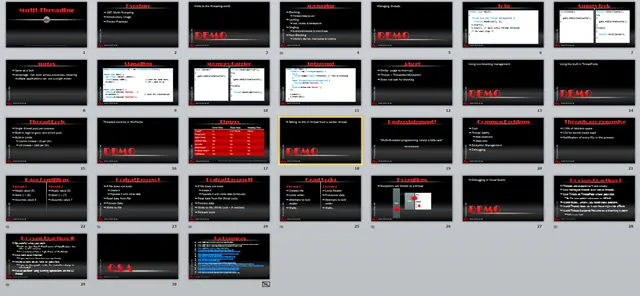
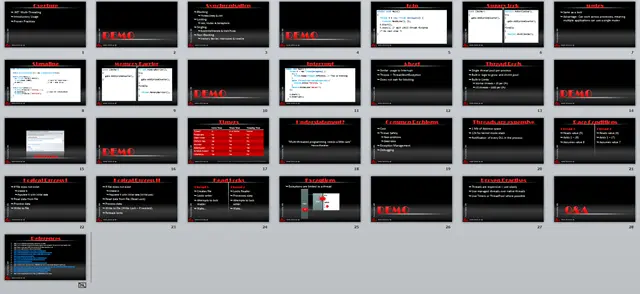
Once I had those first few done, I went back to the slide deck and started thinking about the order of the slides, where to place demos, what the flow should be, and finally, there was also a bit of cleanup. One of the things to note is that this is a process, and changes occur. Some are small but have a big impact, like changing the title from Threading to Multi-Threading because that better reflects the core theme and will help people decide whether they want to attend the session. Others may seem more radical, like dropping a few ideas from this presentation already because, as the timing and theme develop, they no longer fit well. This is to be expected—a lot of this creative work is destructive. This screenshot of the slides at the end of the day doesn’t reveal how many slides I created only to delete them 15 minutes later.
This brings me to another tip: always find out when the last possible date is to submit the title and description for your session. Often, your original presentation title or description will change, and being stuck with the old ones may either force you down the wrong path or annoy your audience when they arrive to find the session isn’t what they expected.
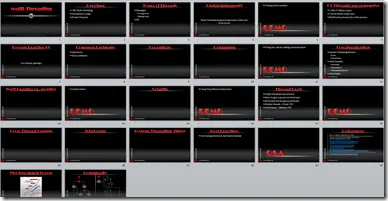
The slides at the end of day 2—those on the bottom row are in danger of “being voted off the island,” but I’m trying to hold on to them because they look so good.
For the rest of the posts in this series, please see the series index.
I tend to do a lot of presentations for work and in my free time too, and over the past few years—through trial and error and presentation courses—I have learned a bunch of tricks to prepare for one. What I am hoping to do with this series of posts is to catalogue, each day, what I have to do in preparation for a specific session. The hope is that through this, maybe my tricks can help you in the future.
The first tip I can impart is that I never get up in the morning, prep a presentation, and give it the same day. Why? Because to properly prepare, even a short presentation can take days to get right, and the more technical or complex the topic, the longer it can take. The presentation I will build over this series ended up as a two-hour presentation, but it took me almost six days of preparation.
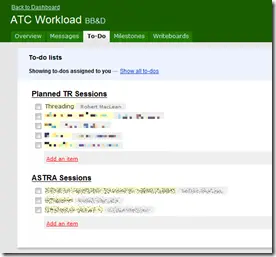
Currently, our team is using Basecamp for task management.
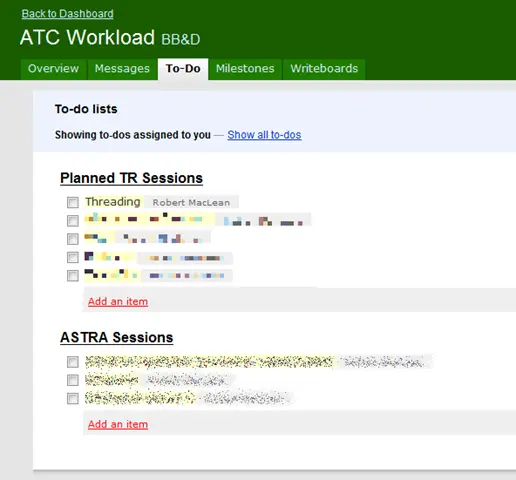
The easiest part of preparing a presentation is getting a topic, because all I need to do is go to my task list and see what has been assigned to me—in this case, .NET Threading. Based on the type (this is a Technical Readiness (TR) session), I know what type of audience to expect and what level. However, I have no other ideas of how long it will be, whether I’ll present using demos, slides, both, or neither, or anything else. This will all emerge from the process.
The way I start with a presentation is to fire up PowerPoint and start dumping ideas onto slides. What I am doing here is not creating content, although some of it will remain as content in the finished presentation. What I am actually doing is setting up a storyboard for my thoughts. PowerPoint works great as a storyboard system, and it has the benefit that later on, the content that remains does not have to be recreated. At this point, there is no spell-checking or grammar-checking, nor any animations.
However, there are three things in the storyboard at this stage:
- Thoughts: slides with just titles or a few words, representing something I think I should bring up but haven’t yet prepared content for.
- Basic content: while it’s a storyboard, there is some basic content (often messy and unstructured) that I think will be useful.
- Mistakes: I make loads of mistakes—which is a good thing because I’ll go through the tough learning and make them so that others do not need to.
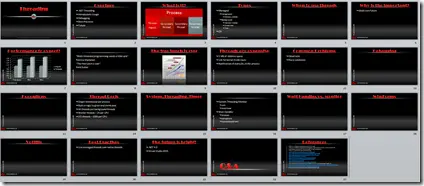
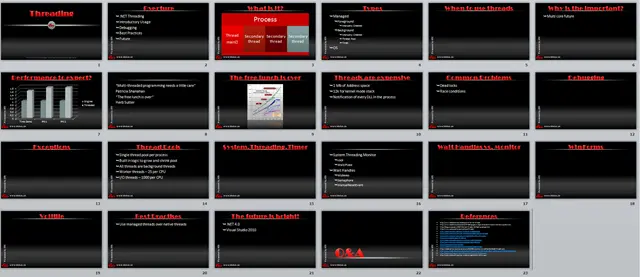
The day 1 storyboard of my presentation
The actual process of getting content for a presentation is fairly mundane. It involves searching on Google, StackOverflow, and SlideShare, and adding information I’ve already gathered.
This is the index for the series of blog posts on how I build presentations:
Slightly for my own memory (since I’ll forget in the future and at least it’s available here), but for an upcoming training session I’m presenting, I wanted to be able to inline a method when using the .NET ThreadPool’s QueueUserWorkItem method—which requires a WaitCallback pointing to a method. I did this using the lambda expression support in .NET 3.0+ and it looks like this:
static void Main(string[] args)
{
    Console.WriteLine("Starting up");

    ThreadPool.QueueUserWorkItem(new WaitCallback(f =>
    {
        Console.WriteLine("Hello from thread");
        Thread.Sleep(500);
        Console.WriteLine("Bye from thread");
    }));

    Console.ReadKey();
}
 I have been writing some multi-threaded code recently where I was initially adding items to the .NET
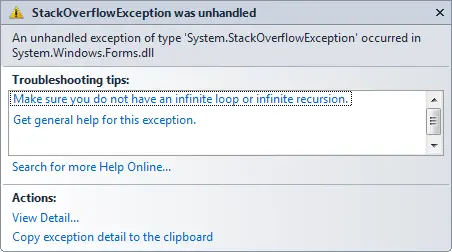
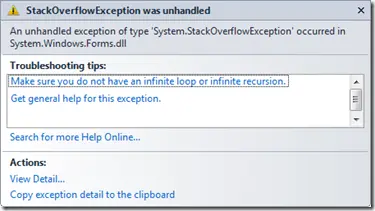
 ListBox control and then later changed to the ListView control. In both cases, my code would get a StackOverflowException fairly consistently when I added the 224th item (my first two items were added manually, so it was the 222nd item added via a separate thread). The first troubleshooting tip is that it does not have an infinite loop, which I could confirm was not the case.
So the first thing I tried was to limit the number of items added with each button click. Doing this allowed me to go well over the 224/222 limit from before—thus eliminating any thoughts of a limit on the number of items the controls could handle.
After some other failed tests, I found out the issue was in my cross-thread communication. Specifically, I had a separate thread adding items to a control created on the application's main thread. To handle cross-thread communication, I kept calling _this.BeginInvoke_, but I never called _this.EndInvoke_—something many places seem to claim is unnecessary. However, at some point, it will fail with the StackOverflowException—that point is dependent on several factors (with the worst factor of all being timing), making this one of those issues that may only appear in the field.
My solution was simple: replace the standard _this.Invoke_ method (instead of BeginInvoke), and the issue disappeared.
For search engines, the full exception is: “An unhandled exception of type 'System.StackOverflowException' occurred in System.Windows.Forms.dll.”