I’ve written in a previous post (What do you get from being a lock screen app?) about how background processing has a limited amount of time to do its processing, what the odd unit of measurement is (the CPU second), and the overflow bucket. Even with all that, it’s hard to understand what you can accomplish in the time available, so let’s look at what an app I built Bing my lockscreen does in its time.
In short, what I hope you take away from this is that you do get a decent amount of time—and that with careful planning, you can do a lot!
The Process
First off, Bing my lockscreen—since it uses a timer—requires lock screen permissions, which means it gets at least 2 CPU seconds every fifteen minutes, plus overflow from the bucket.
The first thing that happens is we get a deferral object (similar to what was explained in Async & Sharing), since we need to use async in the background task. We then go to the RoamingSettings values to get a boolean (which needs to be cast, since RoamingSettings is a Dictionary<string, object>) to see if the user has disabled automatic updates. Now, assuming the user hasn’t disabled automatic updates, we connect to a website using the HttpClient & HttpClientHandler classes and pull down some JSON as a string, converting it to an object using Windows.Data.Json.JsonObject.
If all that worked (with minimal logging and status checks happening in between), I use a touch of LINQ to get the first image from the IEnumerable collection where it’s stored internally. I then check the URL of the image against a value stored in LocalSettings, since I don’t want to update the lock screen with the same image multiple times. If the image is different, I download it from Bing to the TemporaryFolder, check that the file size is greater than 0, and if it is, call SetImageFileAsync to change the lock screen. Otherwise, I delete the damaged file. Downloading is far more complex than it first appears, as I need to handle proxies, fall back to the 1366×768 resolution image if I can’t get 1920×1200, and ensure everything is written to disk before the lock screen is set (I had some issues with I/O buffers in earlier versions that caused minor corruption because the images weren’t fully flushed to disk!).
Aside: An important thing to remember is that CPU seconds are the time the CPU actually works—when it’s idle, say because you’re doing something I/O-bound like a download, it doesn’t count!
Next, I store the result of this in the log—a container in LocalSettings (so the first time it’s run, we create that container too!)—and store the URL of the newly changed image. The process continues similarly for the live tile! We check if the last live tile update is the same by comparing the image URL (again, against a value stored in LocalSettings). I then use TileNotification and TileUpdateManager to send the tile update. Since tiles support remote URLs for images, I don’t need to download the tile image in this case. Finally, I update LocalSettings for the updated tile!
Line Count
If you count the lines of code executed for this—and I’m excluding blank lines, namespace declarations, and comments—really, just the code that actually runs—it’s about 190 lines of C#. Far more than you might think.
More Stats!
I used the always amazing NDepend to generate more stats on the assembly that does all the background processing:
IL instructions: 2,092
Lines of code (LOC): 80 (Note: NDepend works backward from the compiled assembly, while I counted lines in Visual Studio.)
Lines of comment: 9
Percentage comment: 10%
Methods: 99 (Note: NDepend includes all anonymous methods—if I counted in VS, it would be about 8 or 9.)
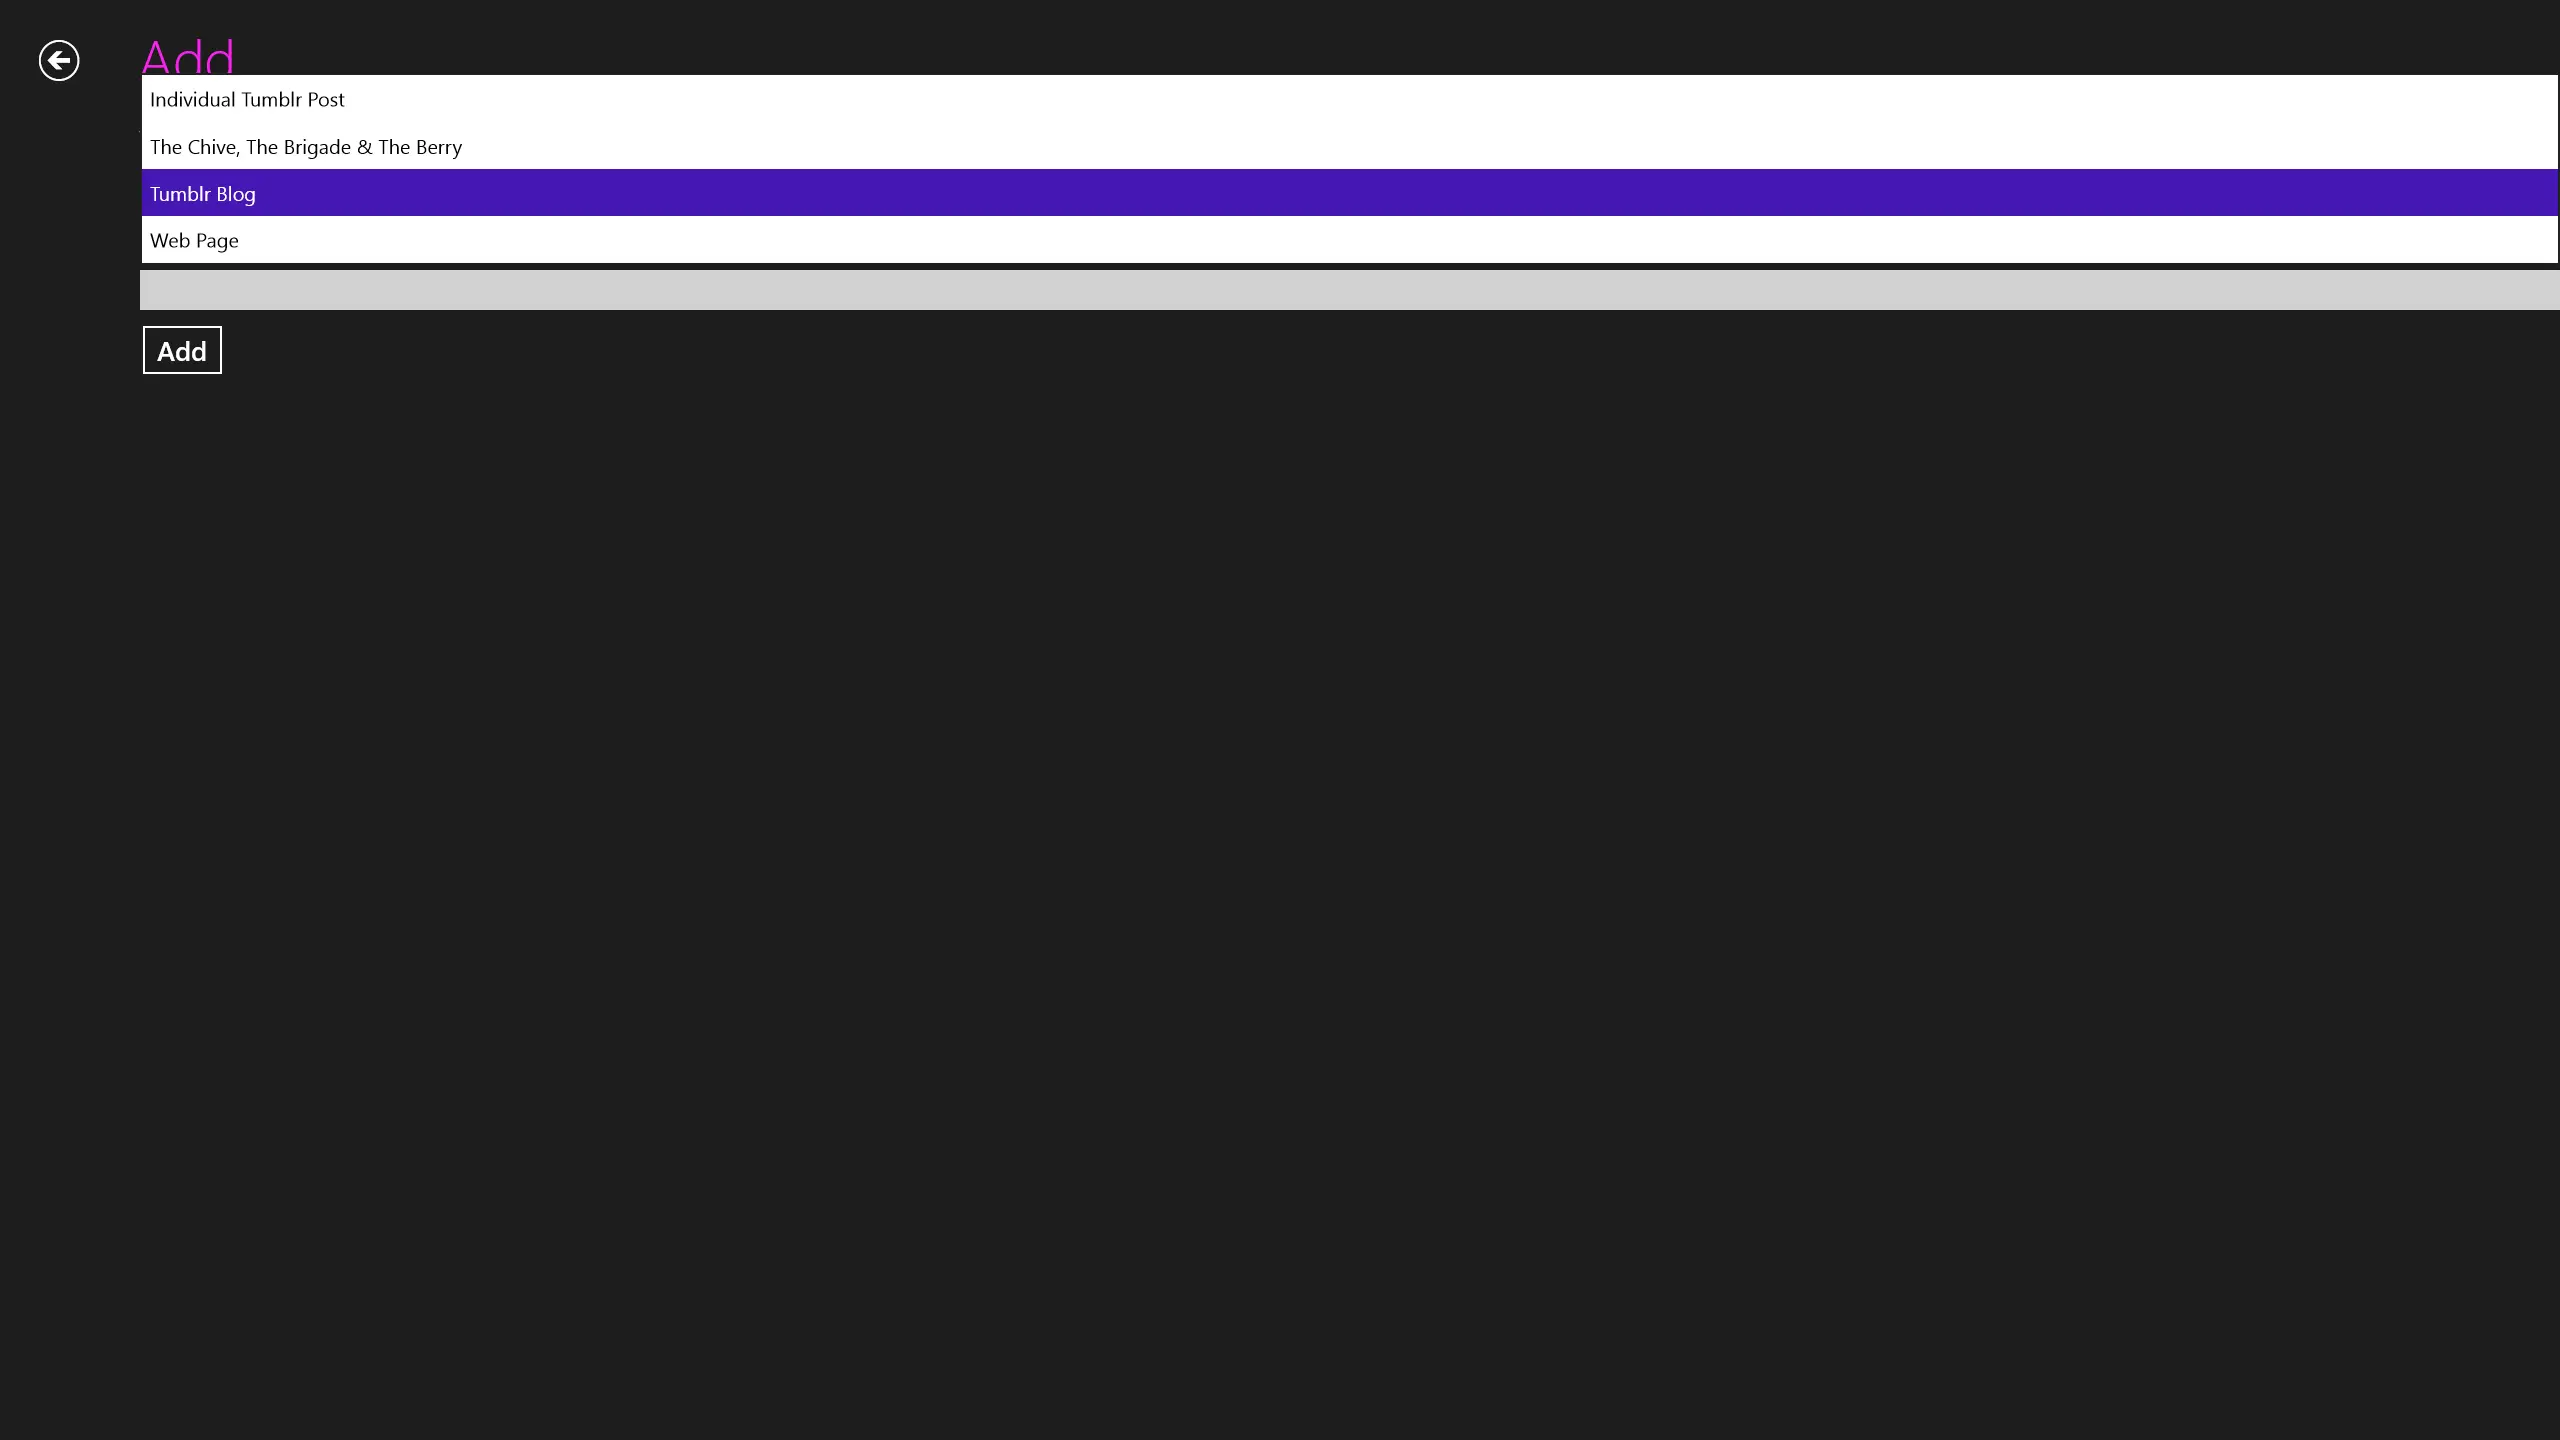
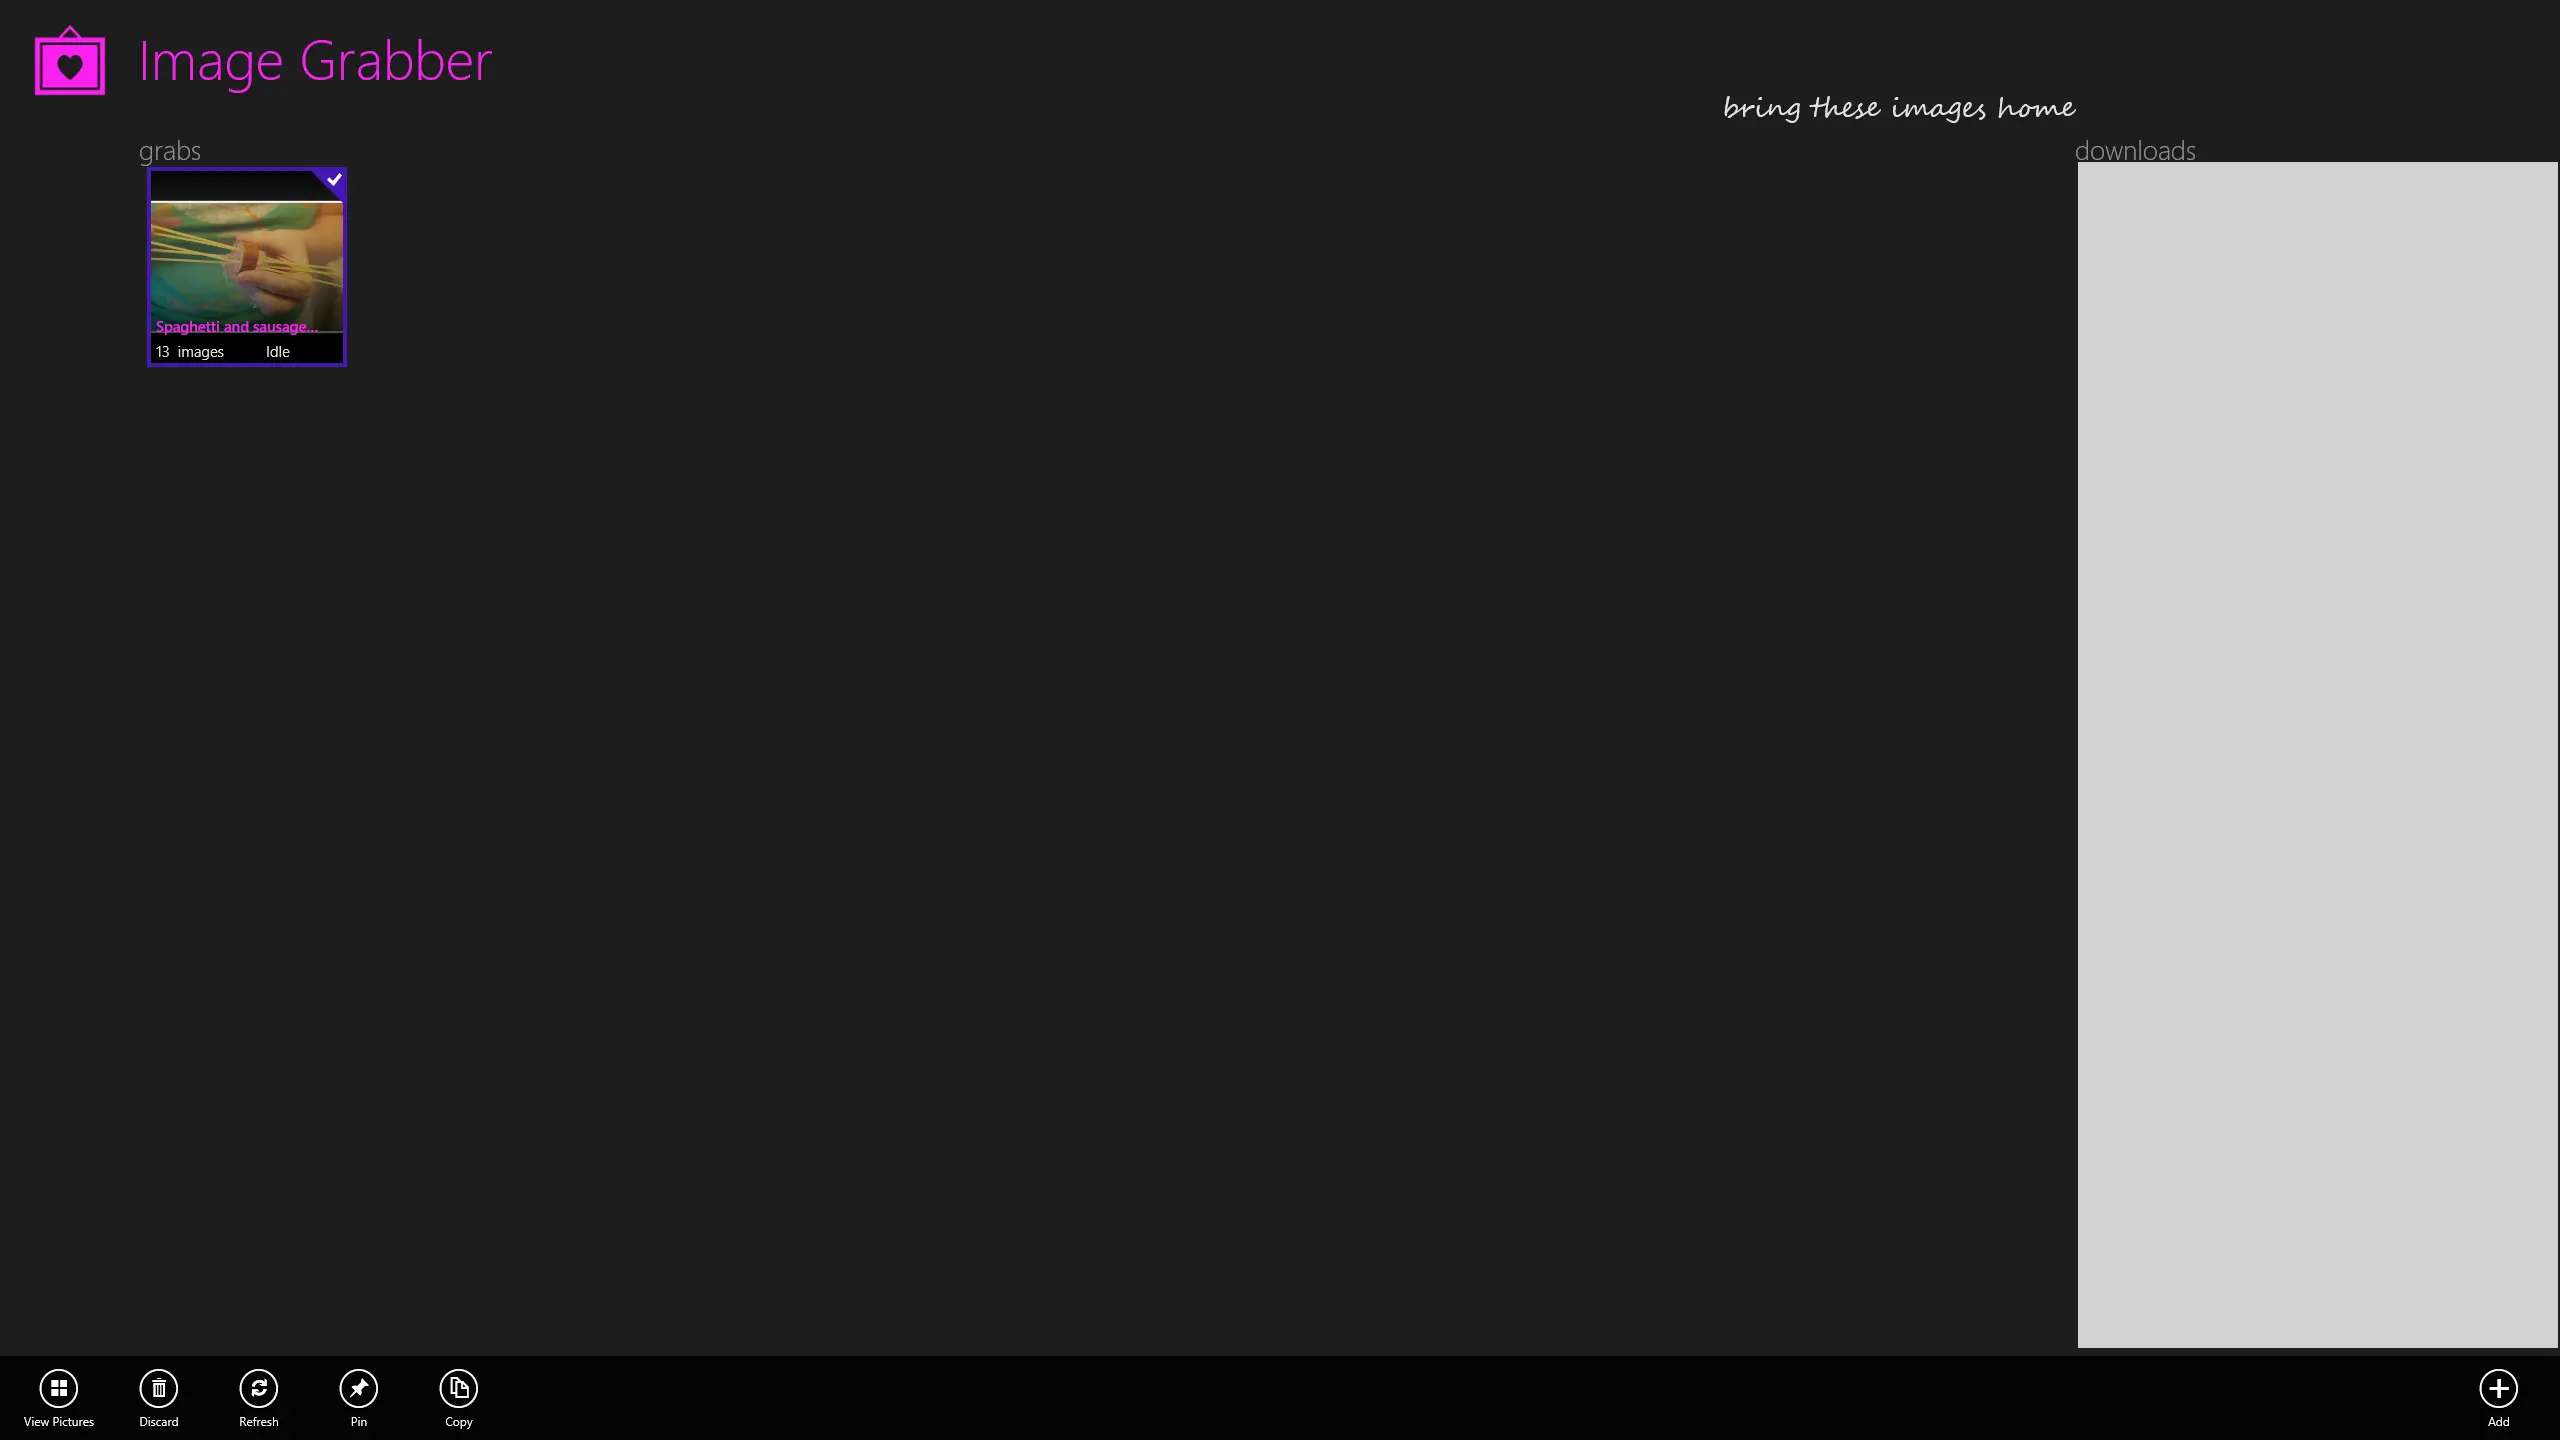
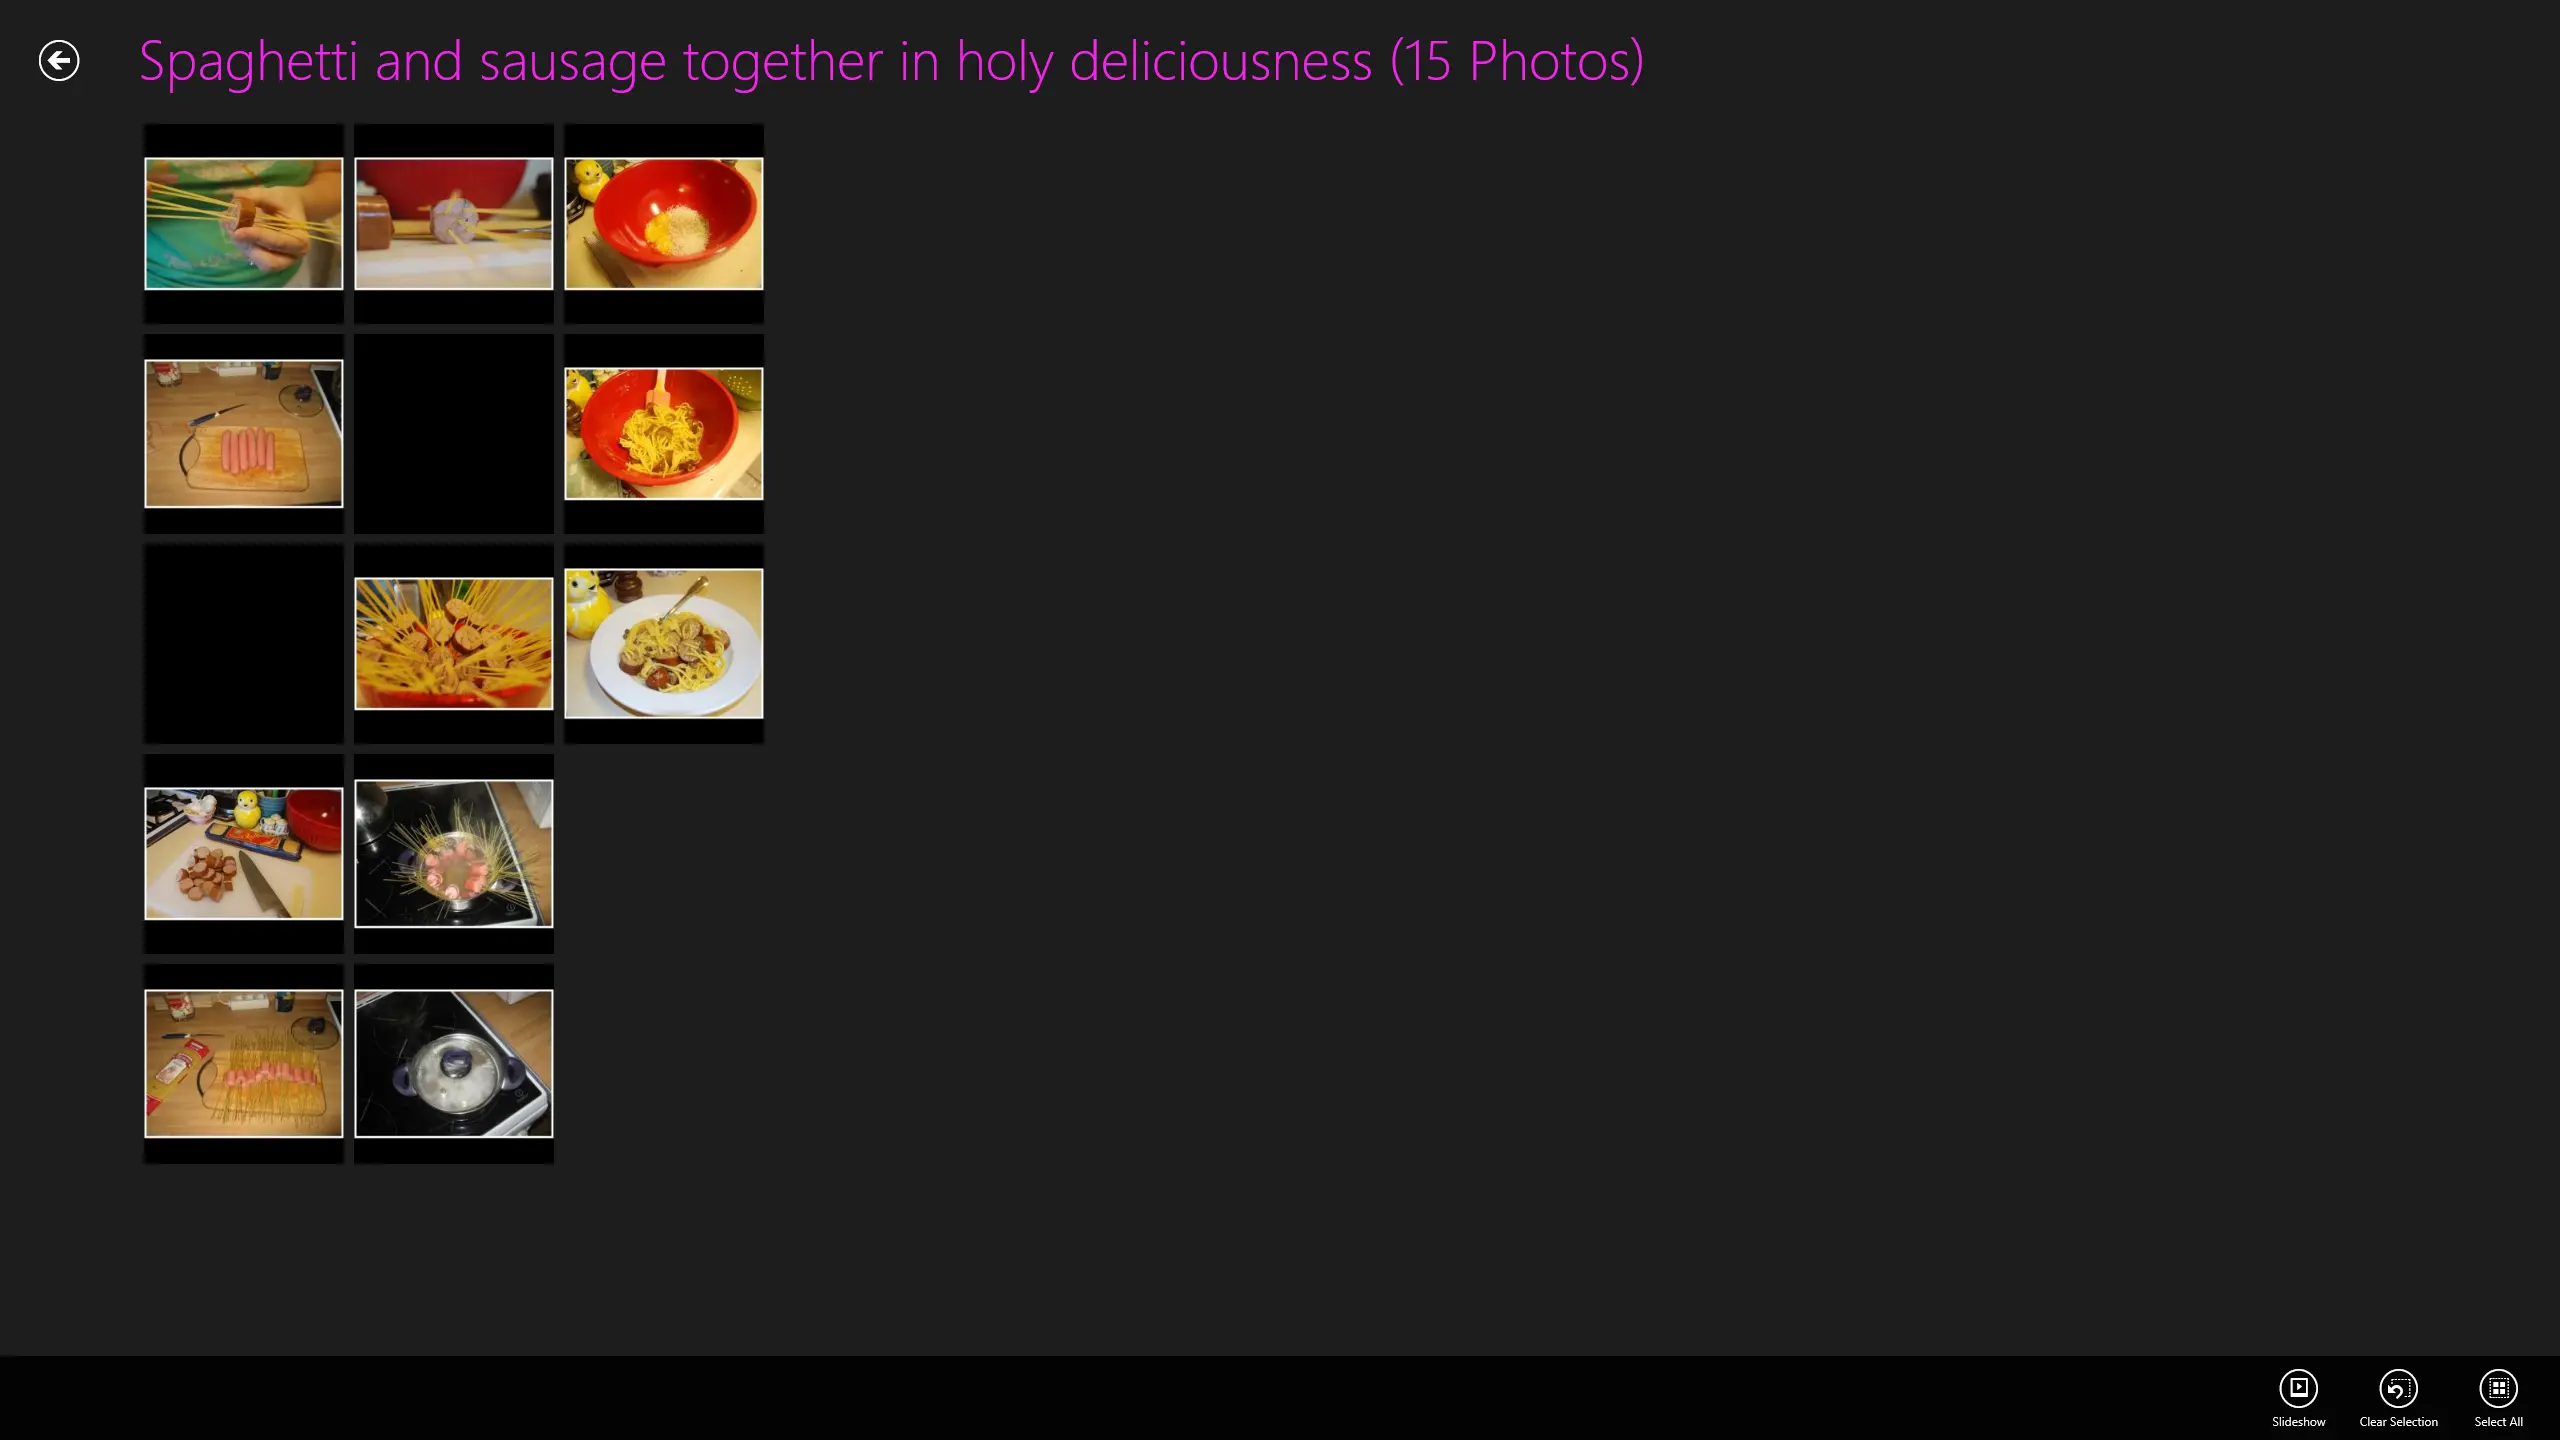
This is really a simple app: find images on a website and pull them down to your machine so you can browse them, save them, or share them. There is some special logic for certain websites—such as Tumblr blogs, where it will pull down images using the API rather than raw scraping of the pages.
This was the very first app I built and tried to publish—it took numerous attempts to get through certification, and in the process, I learned a lot.
You can get the app from the store using the download link below!
This app is also in the Apptivate competition, so please go there and vote for it by clicking the image below:
One of the things you need to think about during your development cycle is how decision-makers will test your app.
Likely, the best approach is to hand them a device, but how do you load your application onto that other device? Well, there are two options!
Building the app
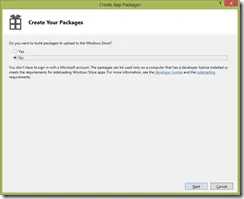
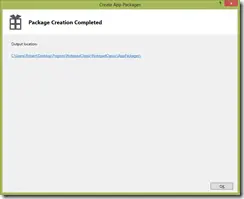
Before you do that, however, you need to open your project in Visual Studio, right-click on the project, and select the Store option, then click Create App Packages.
Since you’re creating these for sideloading, you don’t need to associate them with the store.
Once done, you’ll have a folder (called the output location) containing both a .appxupload file and another folder inside—let’s call this the deployment folder.
PowerShell
Regardless of the machine, if it runs Windows 8, it also has PowerShell—and this option works fantastically for everyone. First, load a developer license onto the machine by typing:
Show-WindowsDeveloperLicenseRegistration
You’ll now be prompted for your Microsoft account (Live ID) to register the device, which will be unlocked for three months.
Next, ensure you can run PowerShell scripts by executing:
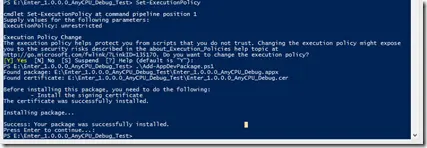
Set-ExecutionPolicy Unrestricted
Now, copy the deployment folder to the device and, using PowerShell, run:
.\Add-AppDevPackage.ps1
This will prompt you about installing it and installing the required certificates. Say yes to those, and the app will install on the device!
Visual Studio Debuggable Package Manager
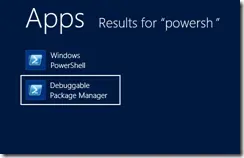
If the device has Visual Studio installed, there’s another option you can use—it requires only the .appx package. That’s the Debuggable Package Manager.
When you launch it, you can use the Add-AppxPackage command to install any .appx file you have. You can find the .appx in the deployment folder.
AppXUpload
If you only have an .appxupload file, you can still use it! Just rename it to a .zip file, open it with your preferred compression tool, and extract the .appx from there!
Thank you so much to all the people who came to my talks in Johannesburg and Cape Town—from all accounts, we broke some size records for the event, which is very awesome. Not just for my ego, but it also shows Microsoft that while we’re excited about the new, awesome stuff, we need to hear about the more normal things too—you know, because we get paid to work with that all.
With that said, here’s the usual post-event blog post where I share my slides. In addition, my demo script (those masses of paper I used to remind myself what to type) is up, and finally, the completed builds of the demo apps for you to look through. About the demos, two things need to be remembered:
These are demos—they’re not meant to represent best practices. They’re as close as I could get in 5 minutes, so a disclaimer applies if you use them.
These demos aren’t the same as the ones shown on stage and have no help—so if you didn’t attend the session, the script might be a better starting point.
(btw: download the slide deck—there are hidden slides with extra info!)
In this post, I’ll look at a side effect you often encounter when using the new async modifiers: compiler warnings. While this post is part of my Windows Store app development series, it applies equally well to development on .NET 4.5 with ASP.NET, WCF, WPF, and anywhere else you use async.
CS1998
warning CS1998: This async method lacks 'await' operators and will run synchronously. Consider using the 'await' operator to await non-blocking API calls, or 'await Task.Run(...)' to do CPU-bound work on a background thread.
Cause: You’ve marked a method as async, but you’re not using the await keyword anywhere in its body.
This warning deserves your attention—it appears for one of two reasons:
You don’t needasync on the method—so remove it.
You do need async, but you forgot to use the await keyword—so fix the code.
CS4014
warning CS4014: Because this call is not awaited, execution of the current method continues before the call is completed. Consider applying the 'await' operator to the result of the call.
Cause: You’re calling an async method that returns a Task, but you’re not awaiting it.
This might indicate you forgot the await keyword—so check it carefully. But sometimes you intentionally don’t await a call because the method runs asynchronously, and your subsequent code doesn’t depend on its result. In those cases, suppressing the warning could be appropriate.
Microsoft has a detailed guide on this warning, including considerations around exceptions—worth a read.
You might think suppressing the warning is the best approach:
This isn’t a terrible solution—it clearly signals your intent—but it’s risky. Forgetting to restore the warning or using the wrong number could suppress large parts of your codebase.
A better solution is to assign the returned Task to a variable:
var ᛘ = AwesomeAsync();
You might dislike extra variables cluttering your code—but the compiler is smart enough to remove unused ones during compilation. The following screenshots show my example code and its compiled form (using Reflector), where the temporary variable is indeed gone!
You might wonder why I used ᛘ as a variable name—because it’s hard to type! I want to ensure developers don’t accidentally reuse it unless they have a good reason. The odd character forces them to rename it intentionally. It’s also one character, so it doesn’t waste space, and its uniqueness makes its purpose clear in the code. If you have feedback, I’d love to hear it in the comments below!
The debugging experience for Windows Store apps is fantastic—you have all these great tools in Visual Studio when you are running your application. But what about scenarios where you need to debug when your app isn’t running?
For example, when you are a Share Target: the Share Source is the running application, while the Share Target is launched by Windows when the user selects the target. If you need to debug the target, how do you do that?
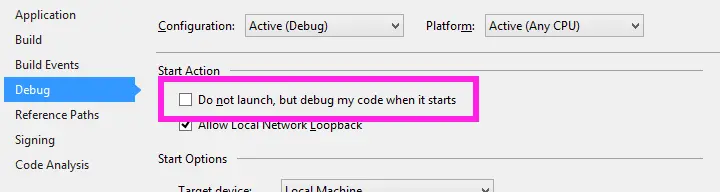
The trick lies in the project settings, under the Debug section. There’s an option called Do not launch, but debug my code when it starts. If you enable it and then press F5, Visual Studio will enter debug mode without running any code. Then, when Windows launches your app—say, the Share Target—Visual Studio will attach to it automatically and deliver that fantastic debugging experience!
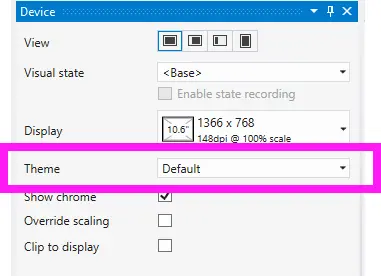
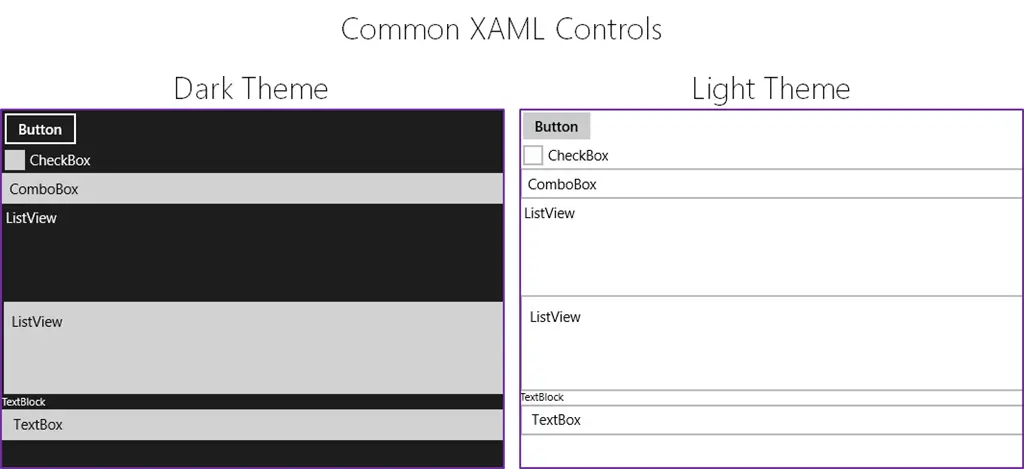
You may have seen in Visual Studio & Blend the option to change the Windows theme from dark (the default) to light. The problem is that at runtime, it seems to make zero difference—and there is no way in Windows 8 to change it (as there was with Windows Phone).
The solution to this is to change it in the App.xaml file—by going to the _Application_ node (the very first one) and adding RequestedTheme="Light" to switch to the light theme or RequestedTheme="Dark" to switch to the dark theme.
This will have a massive impact on your application’s overall appearance!
A word of warning—you may also see the runtime property for this under App.Current.RequestedTheme and assume you can change it at runtime. However, that will raise a NotSupportedException. What you can do is set it on startup, so if you want to change it “dynamically,” the user will need to restart the app for the change to be applied (Microsoft has a sample to demonstrate this).
Lastly, an interesting tidbit from the documentation on this:
This property is ignored if the user is running in high-contrast mode.
The Windows Simulator is a great tool for developing Windows Store apps—but you might be missing out on some of its great features.
Resolution
There is a small screen on the toolbar that you use to change the resolution and size of the screen. Testing on different screen sizes and resolution combinations is important, as this influences the DPI of the screen—and that will impact your application. (Microsoft has a good post on this.)
If you sometimes need to work with a bigger simulator, you can resize it by placing the mouse on any corner and dragging to make it bigger or smaller!
Screenshots
One of the best features of the tool is its built-in screenshot capabilities, which you can access by pressing the camera button on the toolbar. This captures the entire screen and places the file (by default) into _C:\Users\<username>\Pictures\Windows Simulator._ Since it doesn’t capture any of the simulator chrome, it’s perfect for uploading to the store.
If you don’t need a file but want to capture the screenshot to memory—say, to paste into a presentation—click on the simulator and press Alt+Print Screen. This produces the same screenshot as the toolbar button but places it into the clipboard instead of saving it as a file.
Finally, the resolution of the screenshot matches the simulator’s resolution.
Windows Key
By default, the Windows hardware key appears at the bottom of the simulator. When you rotate the simulator, the key moves to the relevant location—but it may disappear when placed on the left side (counterclockwise rotation from the start position) because the toolbar occupies that space.
The Windows key is still there; it has merged with the toolbar and can now be found in the last position under the question mark button:
Something I have started doing with my applications is making it easy for users to send feedback—since that’s the best way to improve them based on the feedback of those who use them. The question then becomes: How do I collect this feedback?
I could add a screen in the application, but I decided on a simpler method instead: email. All I need is a way to launch the email program—and ideally have my email address and subject prefilled—which isn’t possible with the Share contract experience.
The solution? Protocol handlers—a method we’ve used for years before Windows 8, particularly the mailto protocol.
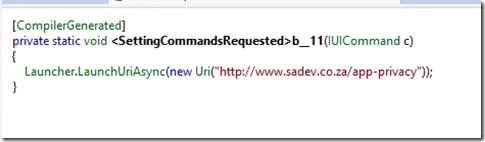
How do you launch a protocol handler in a Windows Store app? The same way you launch a web page: via the Launcher.LaunchUriAsync method.
Protocol handlers also open up a lot of possibilities for sharing between Windows Store apps and Windows desktop apps!
Here’s an interesting issue: you need to implement a Share Source but to do the sharing, it must be an async call. So what do you do? You can add the async and await modifiers, but it won’t work correctly. The solution is to use the deferral, which is provided in the arguments of the event, and when you’re done, you call the _Complete() method on it to indicate that you’re finished with all the async operations:
asyncvoidApp_DataRequested(DataTransferManager sender, DataRequestedEventArgs args)
{
var deferral = args.Request.GetDeferral();
// async code with await keyword here
deferral.Complete();
}