Windows Store app Development snack: Compress your images!


This post is both a development snack—something I think you should know to build better Windows Store apps—as well as part of the Treasure Map transparency, which are meant to show you how we built a real Windows Store app.
Lab Rat
 In web development, there is often a concern to get the download size of a page down—and there are plenty of tools to help with this (Visual Studio has a lot for CSS & JavaScript)—but when we get to app development, size isn’t always as big a concern.
Windows Phone development made 20 MB an important limit, since that meant the download could go over 3G rather than requiring WiFi—this is why my Lab Rat comic book for Windows Phone is 17 MB in size. I made a very conscious choice to ensure it would fit under 20 MB.
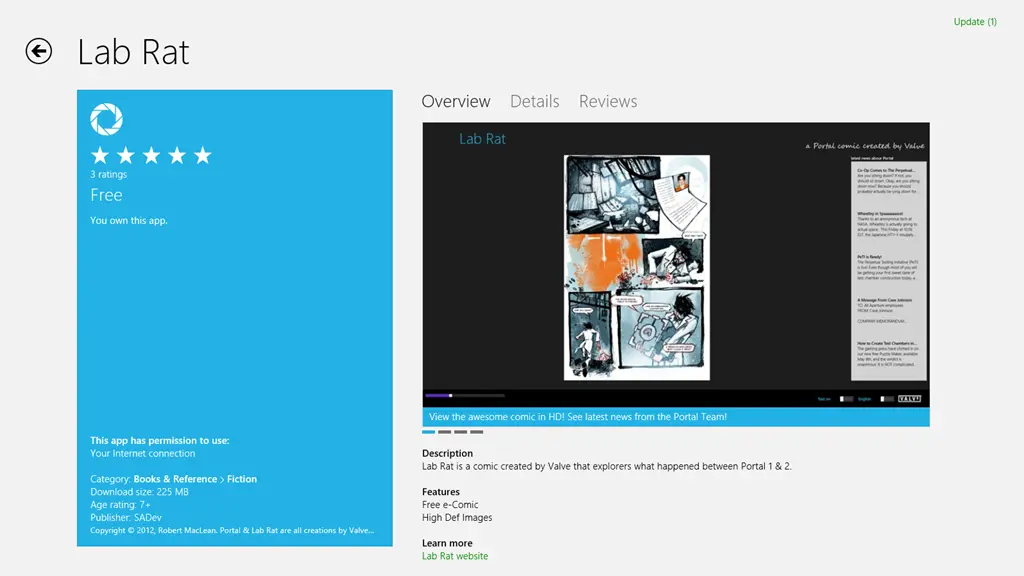
Windows Store apps don’t have a similar limit to Windows Phone, so when I was recreating Lab Rat for Windows 8, I just went with the highest resolution images I could so it would look great. This resulted in the download being 225 MB!
Treasure Map
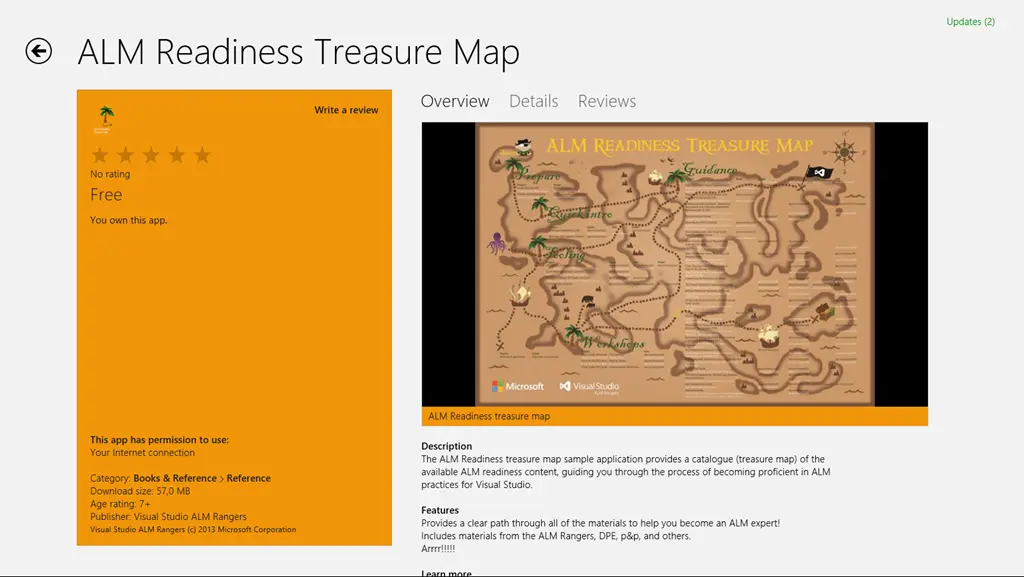 With version 1 of the Treasure Map, no one really thought of file size either—rather, the focus was on making it look and feel great. Which resulted in it containing a lot of high-resolution images, many of them in the JPEG format. When we shipped version 1, we shipped a 57 MB install!
Small is better
For version 2 of the Treasure Map, one piece of feedback we got (I believe the awesome Mike Fourie raised it) was that it was a big download. So I spent some time looking through our assets and doing some sneaky clean-up and in the process learnt a bit.
JPEG
It’s crap—use PNG instead. PNG offers better quality and is generally smaller in file size. So in both Lab Rat and Treasure Map, the first step was to replace all the JPEG images (including assets like the store logo) with PNG.
If you want more info on the differences between JPEG and PNG, see this amazing StackOverflow answer.
PNG 32, 24, 16, 8… oh my
 A PNG isn’t PNG—in fact, PNGs can specify the bit depth of each of the channels they support, which directly impacts how distinct colors they support. They can also allocate a specific bit in the colors to indicate transparency. However, if you don’t need transparency—which is true for the bulk of Lab Rat and Treasure Map—you can save bits for color.
Very few images will have all 16 million colors needed, so if you identify how many unique colors there are, you can shrink the bit depth, resulting in a smaller file. I did some work on this and found two pretty interesting tools:
- TinyPNG – a free website to do this. The only downside is that it processes one file at a time.
- PNGoo – a free Windows tool that can do bulk changes. Not as easy to use as the website, though.
So I ran both Lab Rat and Treasure Map through these tools, and we got a massive saving in disk space:
- Treasure Map went from 57 MB to (approx.) 11 MB—so a saving of 80%. The 11 MB is just a test on my machine and also includes a lot of new resources, so it may change by release.
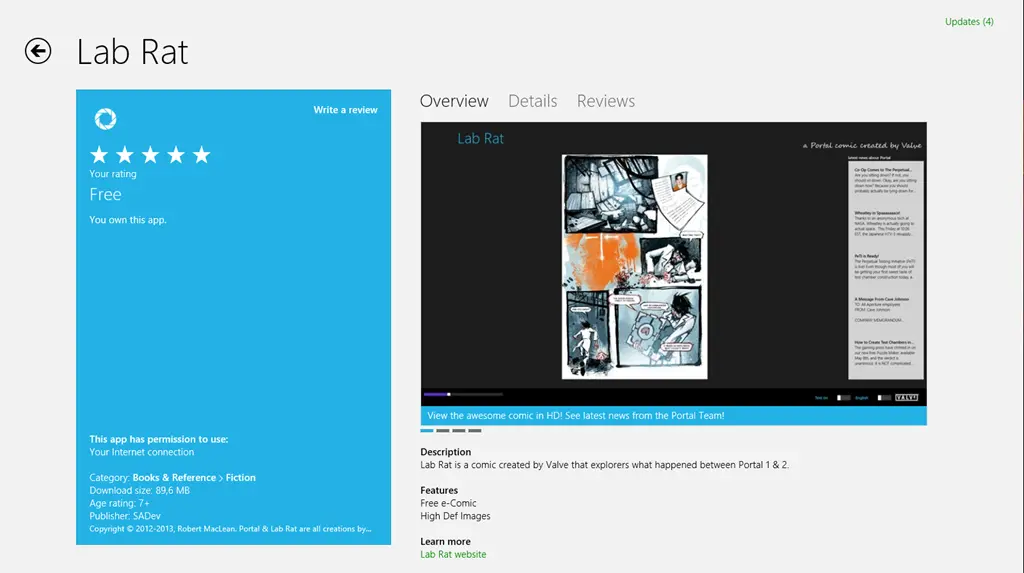
- Lab Rat went from 225 MB to 89 MB—a saving of 60%!
Summary
So in summary: use PNG, not JPG, and make sure you compress your images before you release!