Running Vorlon.js on Ubuntu


Vorlon.js is an amazing tool for web developers, as it brings the browser developer tools—aka F12—out of the limitations of a single browser and into the cloud. While you can run it on your machine, I believe you really get its full power when you put it on a dev server somewhere. The broader the reach, the more useful it becomes. With that mindset, here’s how to run it on an Ubuntu server—I’m using Azure to host the VM for this example. I went with the Basic A2 (2 cores, 3.5 GB) machine, which is more than enough for Vorlon and keeps costs low.
Step 1: Get NPM
Vorlon uses NPM (Node Package Manager) for distribution, so you’ll need it to get started. Before you begin, ensure you’re up to date:
sudo apt-get update
Once that’s done, install NPM with:
sudo apt-get install npm
If you didn’t run the update first or encounter issues, try the command again with extra parameters.
Step 2: Get Node.js
Vorlon is built with Node.js, so you’ll need that too. This took me longer to figure out than expected, but thanks to this page, I finally got it right. Run these commands:
curl --silent --location https://deb.nodesource.com/setup_0.12 | sudo bash -
sudo apt-get install --yes nodejs
Step 3: Get Vorlon
With the machine set up correctly, install Vorlon via NPM:
sudo npm i -g vorlon
Step 4: Run Vorlon
Running Vorlon is simple—just type:
vorlon
For Windows users, ensure it’s all lowercase. It takes about 30 seconds, and you’ll see the command output appear.

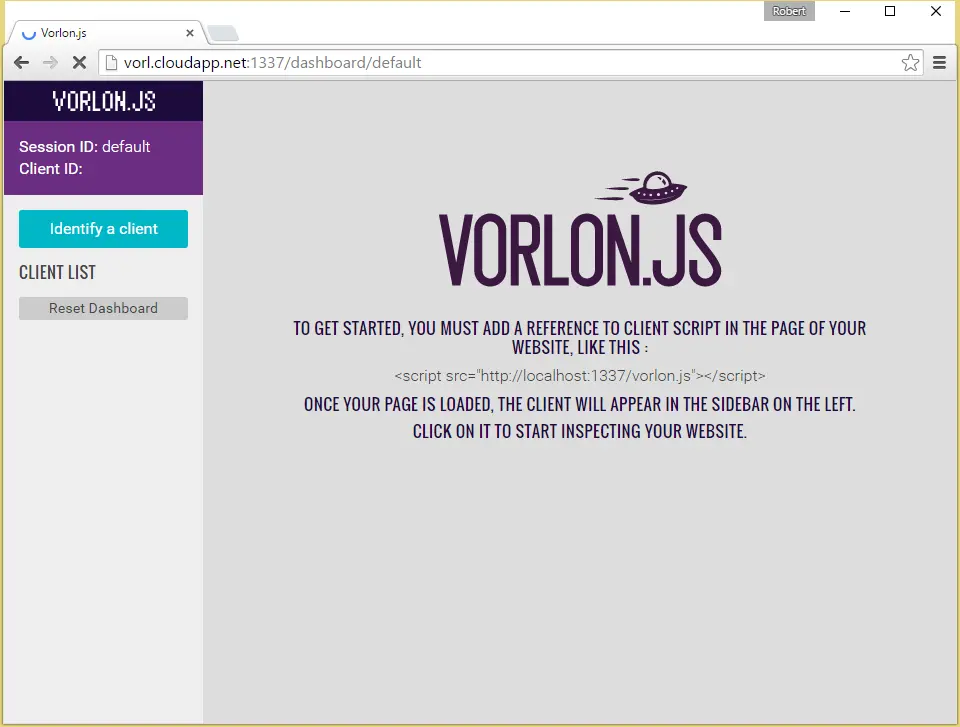
Once that appears, you can access it!
Node.js Missing Error
Initially, every time I ran Vorlon, I got this error: /usr/bin/env: node: No such file or directory
This happened because I hadn’t installed Node.js—I only had npm, which doesn’t include Node.js. In hindsight, it’s obvious, but at the time, it took me an hour to figure out.
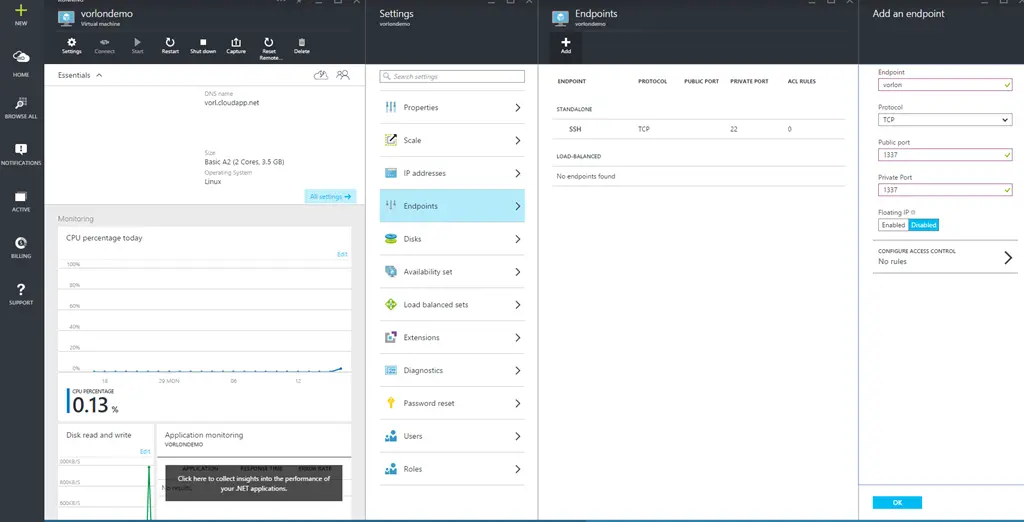
Azure Endpoint Setup
If you’re using Azure, you’ll also need to set up endpoints to allow VM access. Go to the portal, open your VM, click All Settings, then Endpoints, and add a new one. Map the public endpoint to the private one—I kept both as 1337, but you could choose different ports.