How to convert a VS standard class library to a Workflow activity library


Introduction
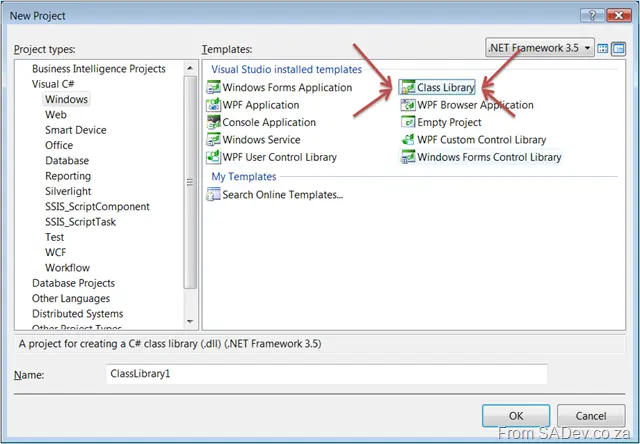 vs.
vs. 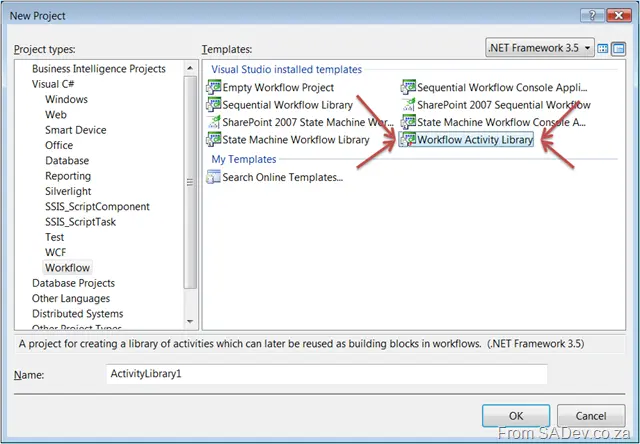
If you are working in a Workflow Foundation project, you may find that you have created a class library (see image below) and want to add workflow activities to it—but you may encounter issues because you didn’t create a Workflow activity library.
Issues
Some of the issues you may encounter include:
- The Add Item menu lacking expected options.
- The Workflow Designer interface not functioning as expected.
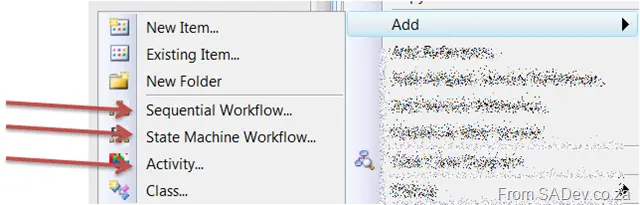 vs.
vs. 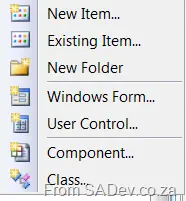
Solution
To resolve this, you’ll need to modify the class library project file with slight adjustments. Open the file in a text editor like Notepad, or use Visual Studio to unload and edit it.
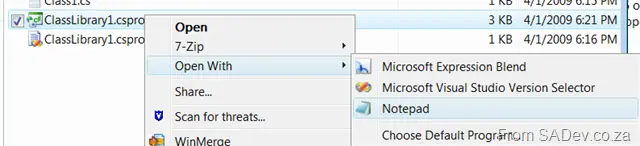
First, add a <ProjectTypeGuids> node to the base <PropertyGroup> node. To do this:
- Navigate to the
<PropertyGroup>node—under the<Project>node and without any<Condition>attributes. (On my machine, this is on line 3.)

- Add the following line inside the node:
<ProjectTypeGuids>{14822709-B5A1-4724-98CA-57A101D1B079};{FAE04EC0-301F-11D3-BF4B-00C04F79EFBC}</ProjectTypeGuids>

Next, add a new <Import> directive for Workflow Targets under the <Project> node. You should already have one of these around line 56.

Right below it, add another <Import> node (so you’ll have two), using this line:
<Import Project="$(MSBuildExtensionsPath)\Microsoft\Windows Workflow Foundation\v3.5\Workflow.Targets" />
Example: 
Save the project file, then reload it in Visual Studio. The issues should now be resolved!
Troubleshooting
If the designer still doesn’t work or errors persist when adding new activities, you may be missing the Workflow Foundation assemblies:
System.Workflow.ActivitiesSystem.Workflow.ComponentModelSystem.Workflow.Runtime
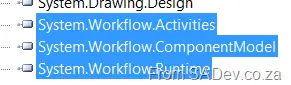
After adding these, everything should function correctly.