The Arturo Grid for Windows Phone 7 in PNG & GIMP


[ ]
]
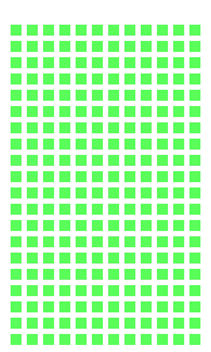
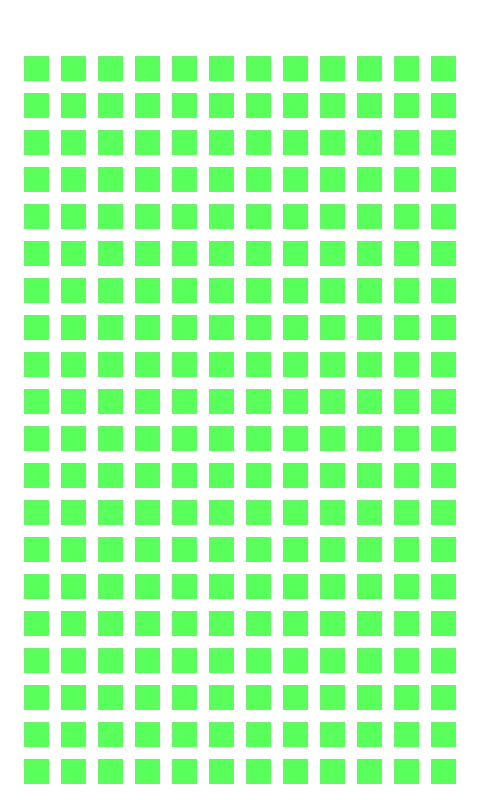
Arturo Toledo works at Microsoft on the Windows Phone Design Studio team, and last week I had the chance to attend phone training with him. In that training, he showed a grid he used for layout so that his apps match the layout of Windows Phone 7 apps—I call this the Arturo Grid.
Yesterday, he posted about it and released an Expression Design version of it, which is great if you have Expression Design… but if you don’t, it can be a problem. So I recreated it using the free graphics tool, The GIMP, and produced a transparent PNG version so that it can work in just about anything!
Downloads
- Layout.webp
- layout.xcf (GIMP version)
How I did it?
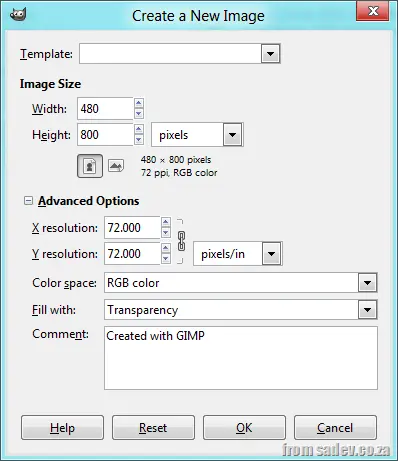
GIMP is a fantastic tool, and I thought I would share how I created this layout. First, I started with a new image with a resolution of 480 × 800 and a transparent background.
[ ]
]
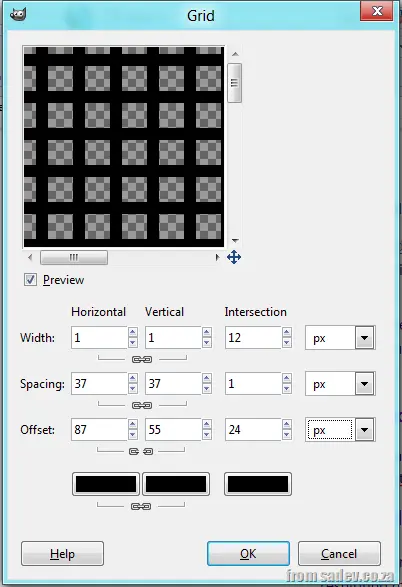
Next, go to Filters ► Render ► Pattern ► Grid, and set the parameters as in the screenshot below. Note that the offset horizontal & vertical lines are not linked. What we are doing here is creating grids of 37 × 37 (25 + 12, based on the Arturo Grid) with a line width of 12 (so the space left is 25 × 25). The offset is +6 so that it pushes out because the line widths are based on the middle of the line and not the edge.
[ ]
]
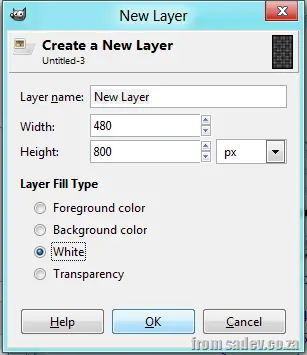
Now add two layers: another transparent one and a white-backed layer.
[ ]
]
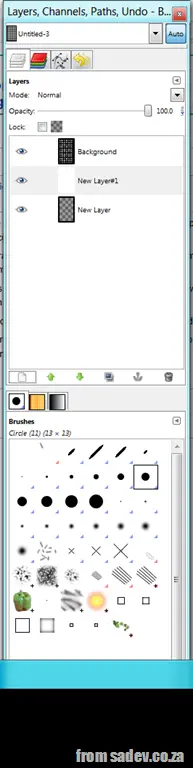
Place the new transparent layer at the bottom and the white layer second.
[ ]
]
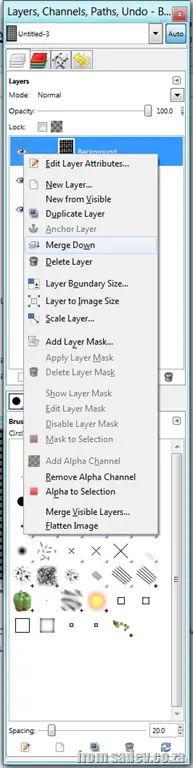
Now merge the grid layer down onto the white layer.
[ ]
]
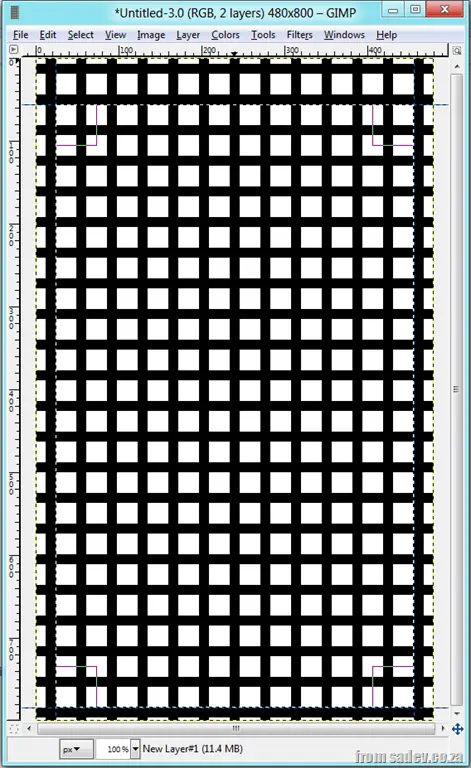
Next, drag on guides:
- Vertical: 24px
- Vertical: 456px
- Horizontal: 56px
- Horizontal: 784px
and select that region.
[ ]
]
Now, select Select ► Invert and press Delete. This removes the area around the grid for the bleed (padding) area that your app shouldn’t use.
[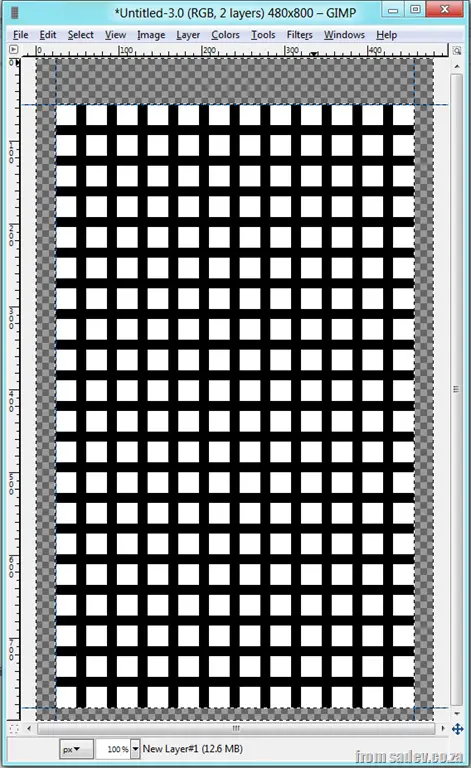 ]
]
Now use the Fuzzy Select Tool (aka the magic wand selector tool) and click on the black.
[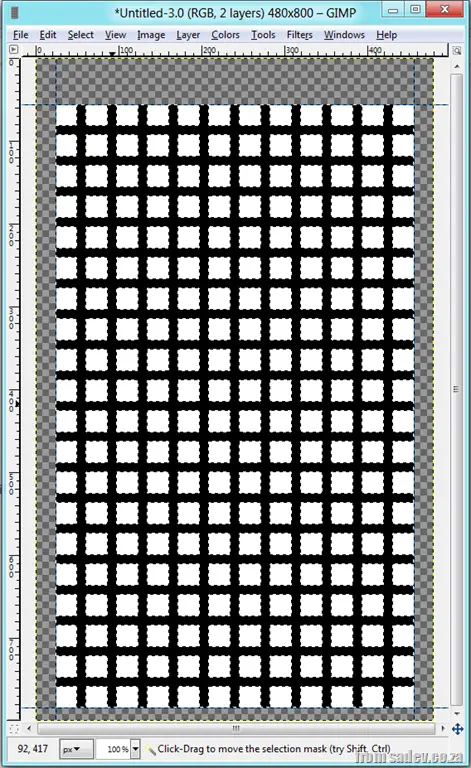 ]
]
Now press Delete to remove those black lines, leaving just the white squares.
[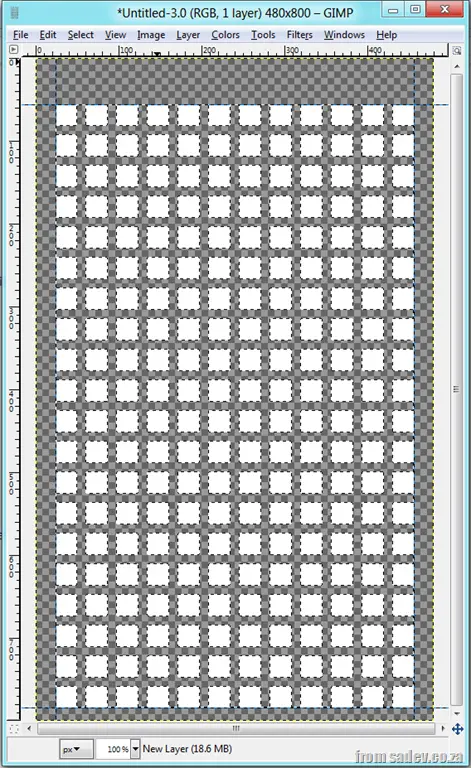 ]
]
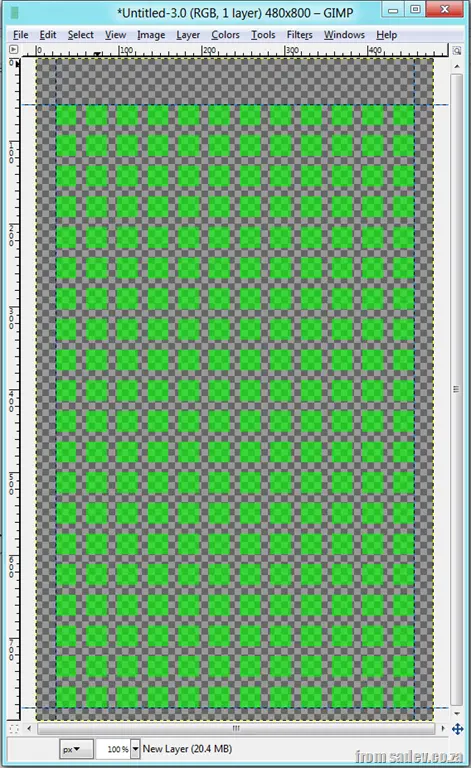
You can tweak the colors using the Colors ► Map Color ► Exchange tool, and you can tweak the transparency using the Opacity option on the layer tool to make it more transparent.
[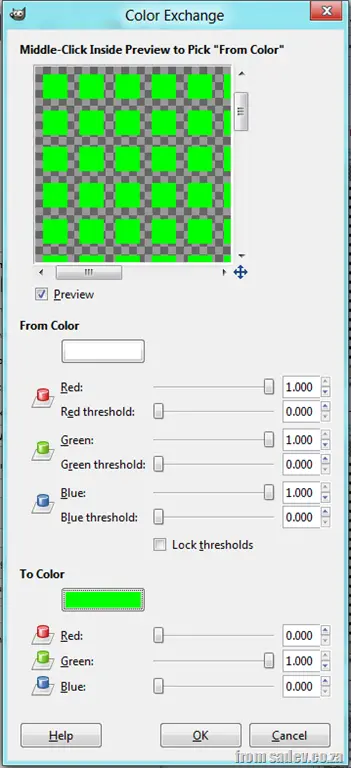 ]
]
There you go—now you’re done! 😊
[ ]
]